Last Updated: July 9, 2026
⚡ Key Takeaways
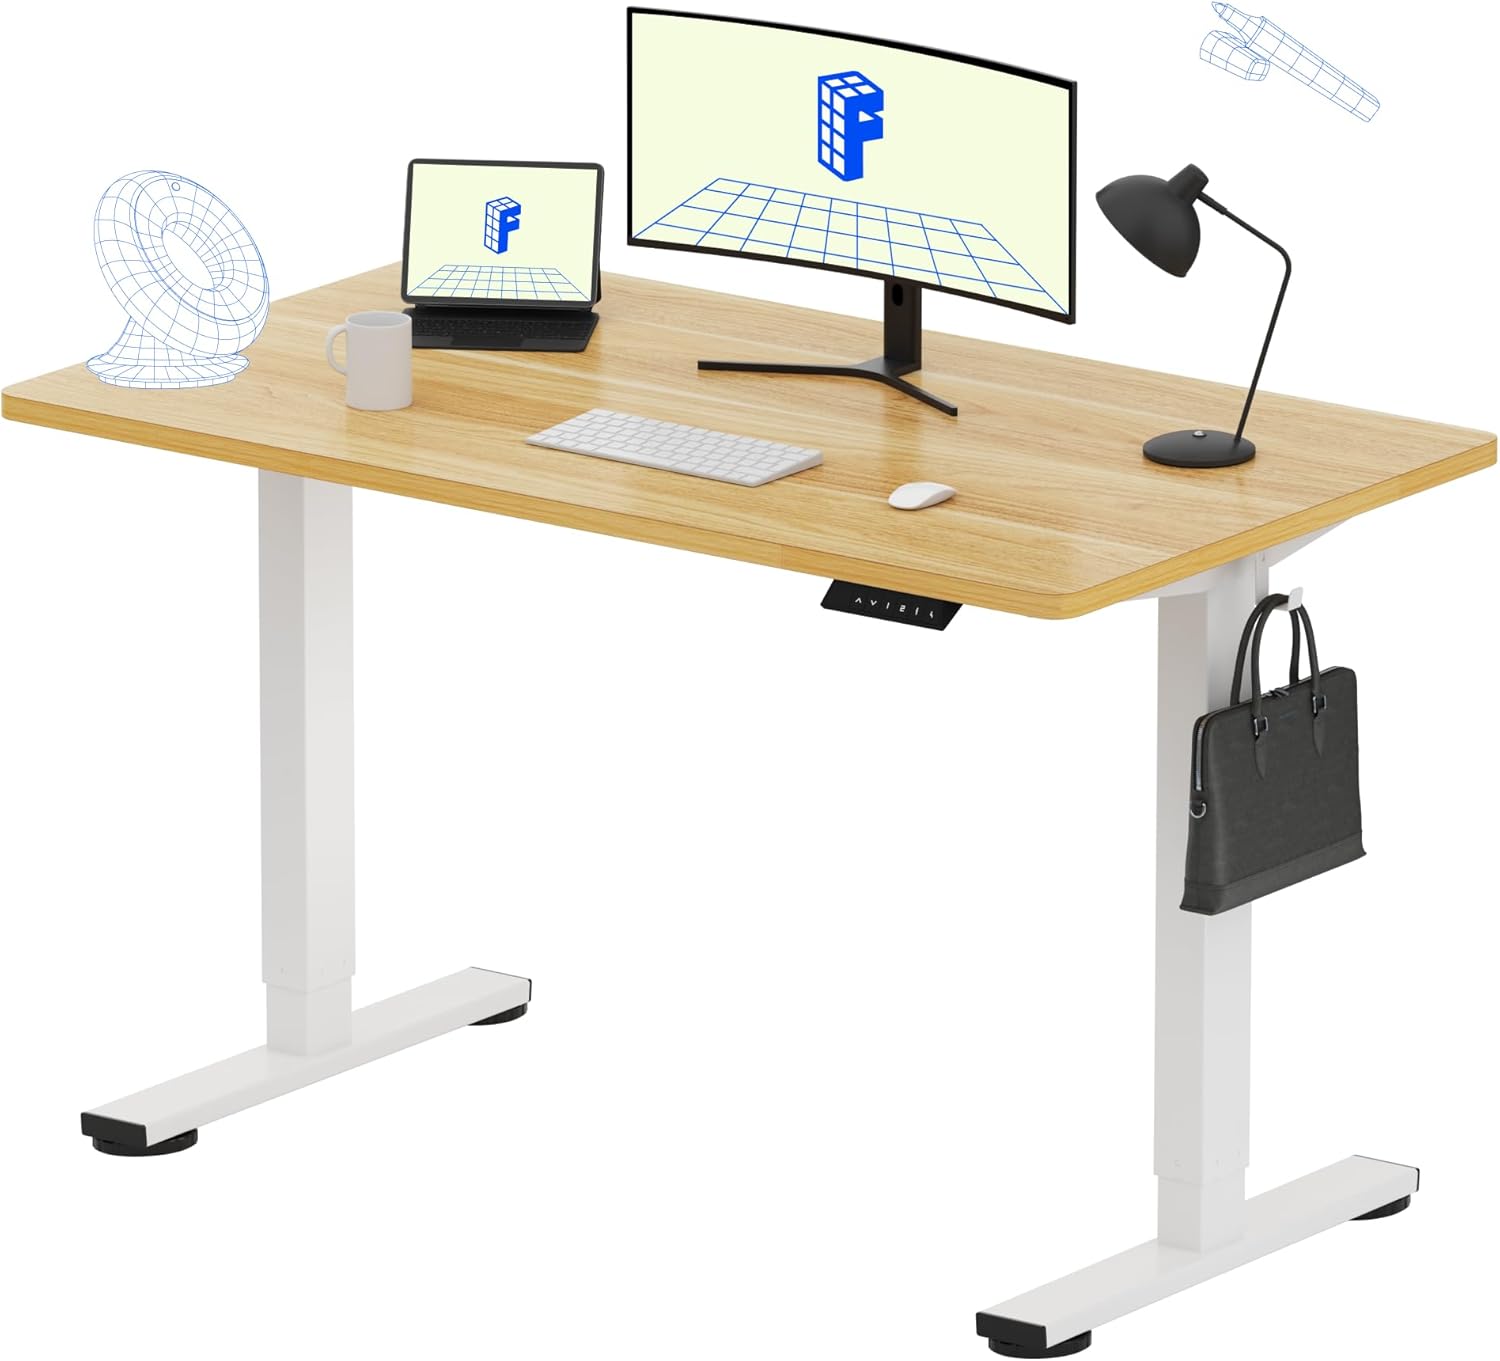

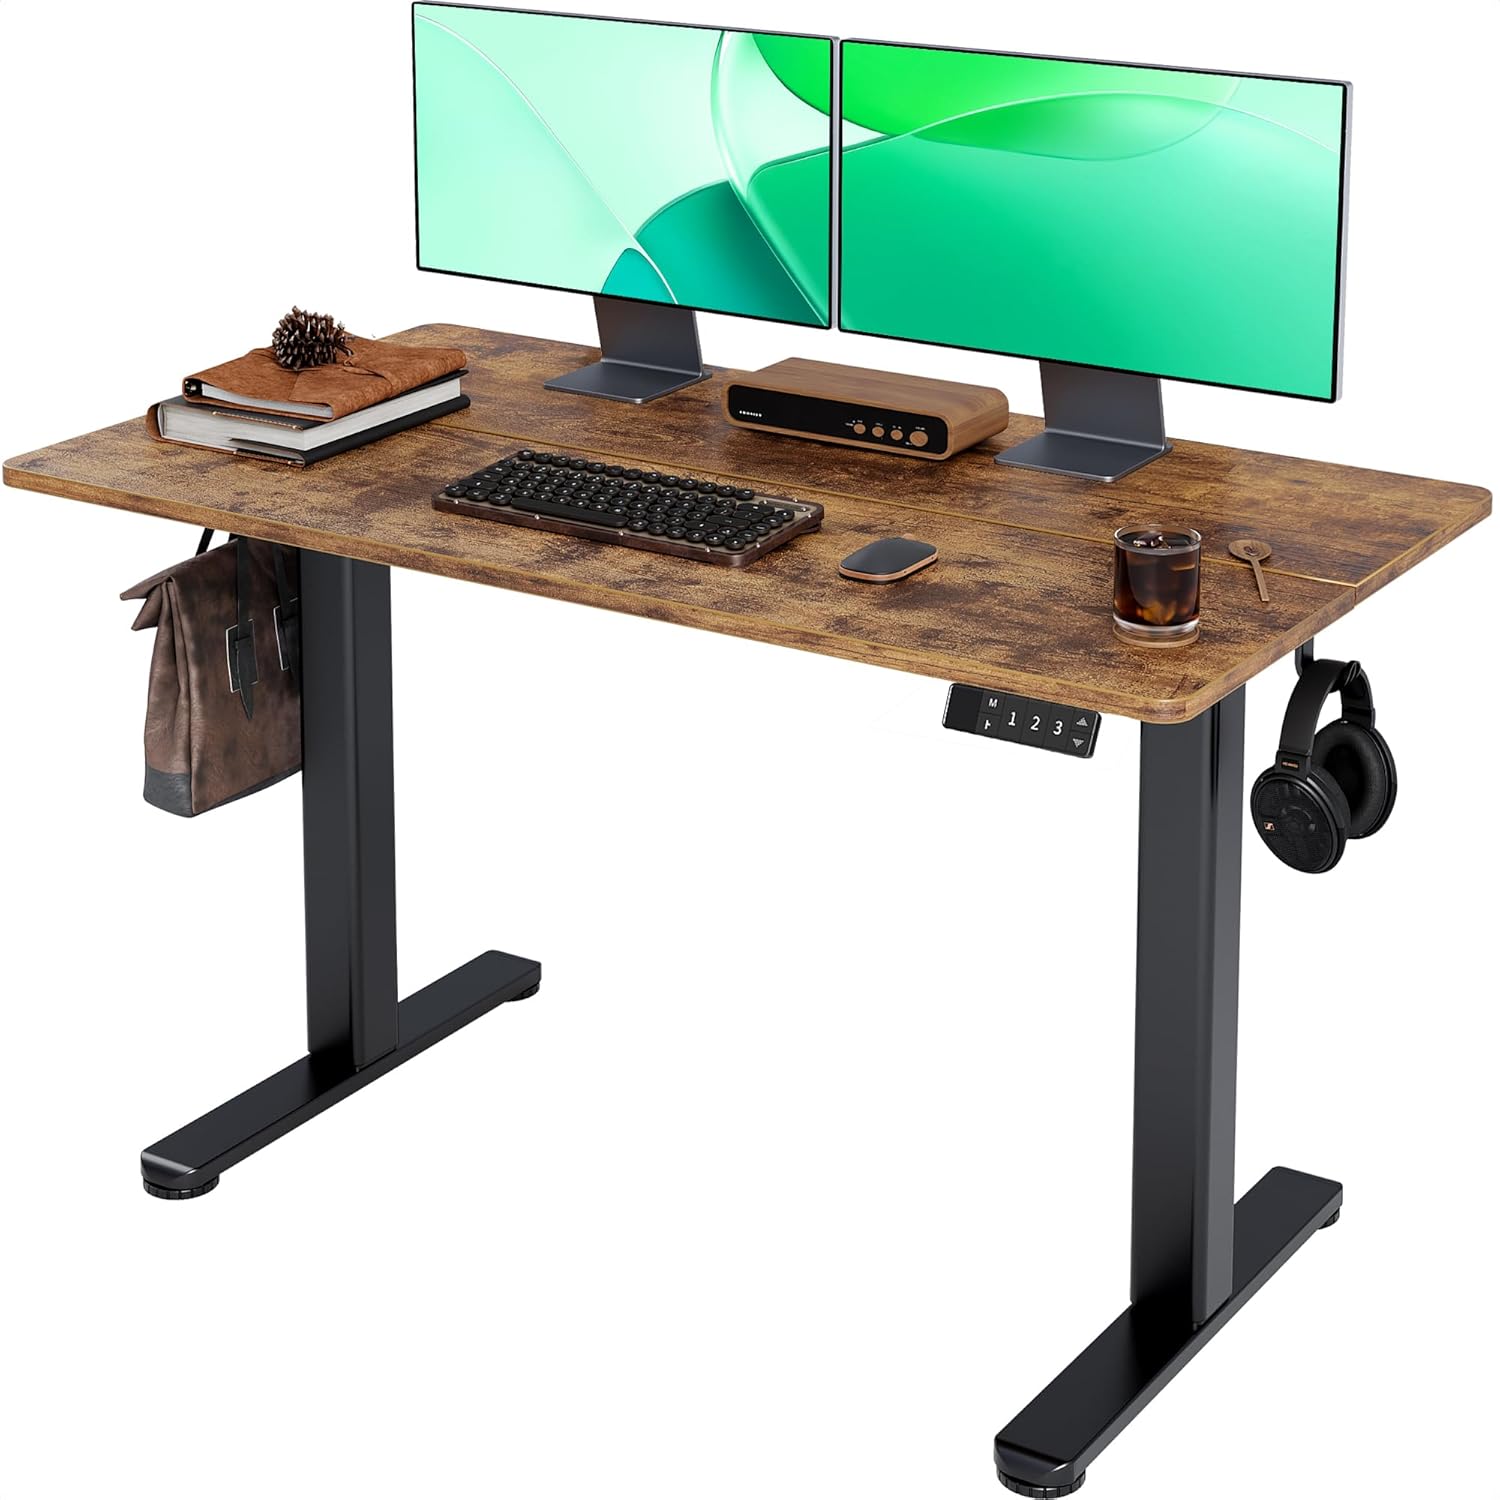
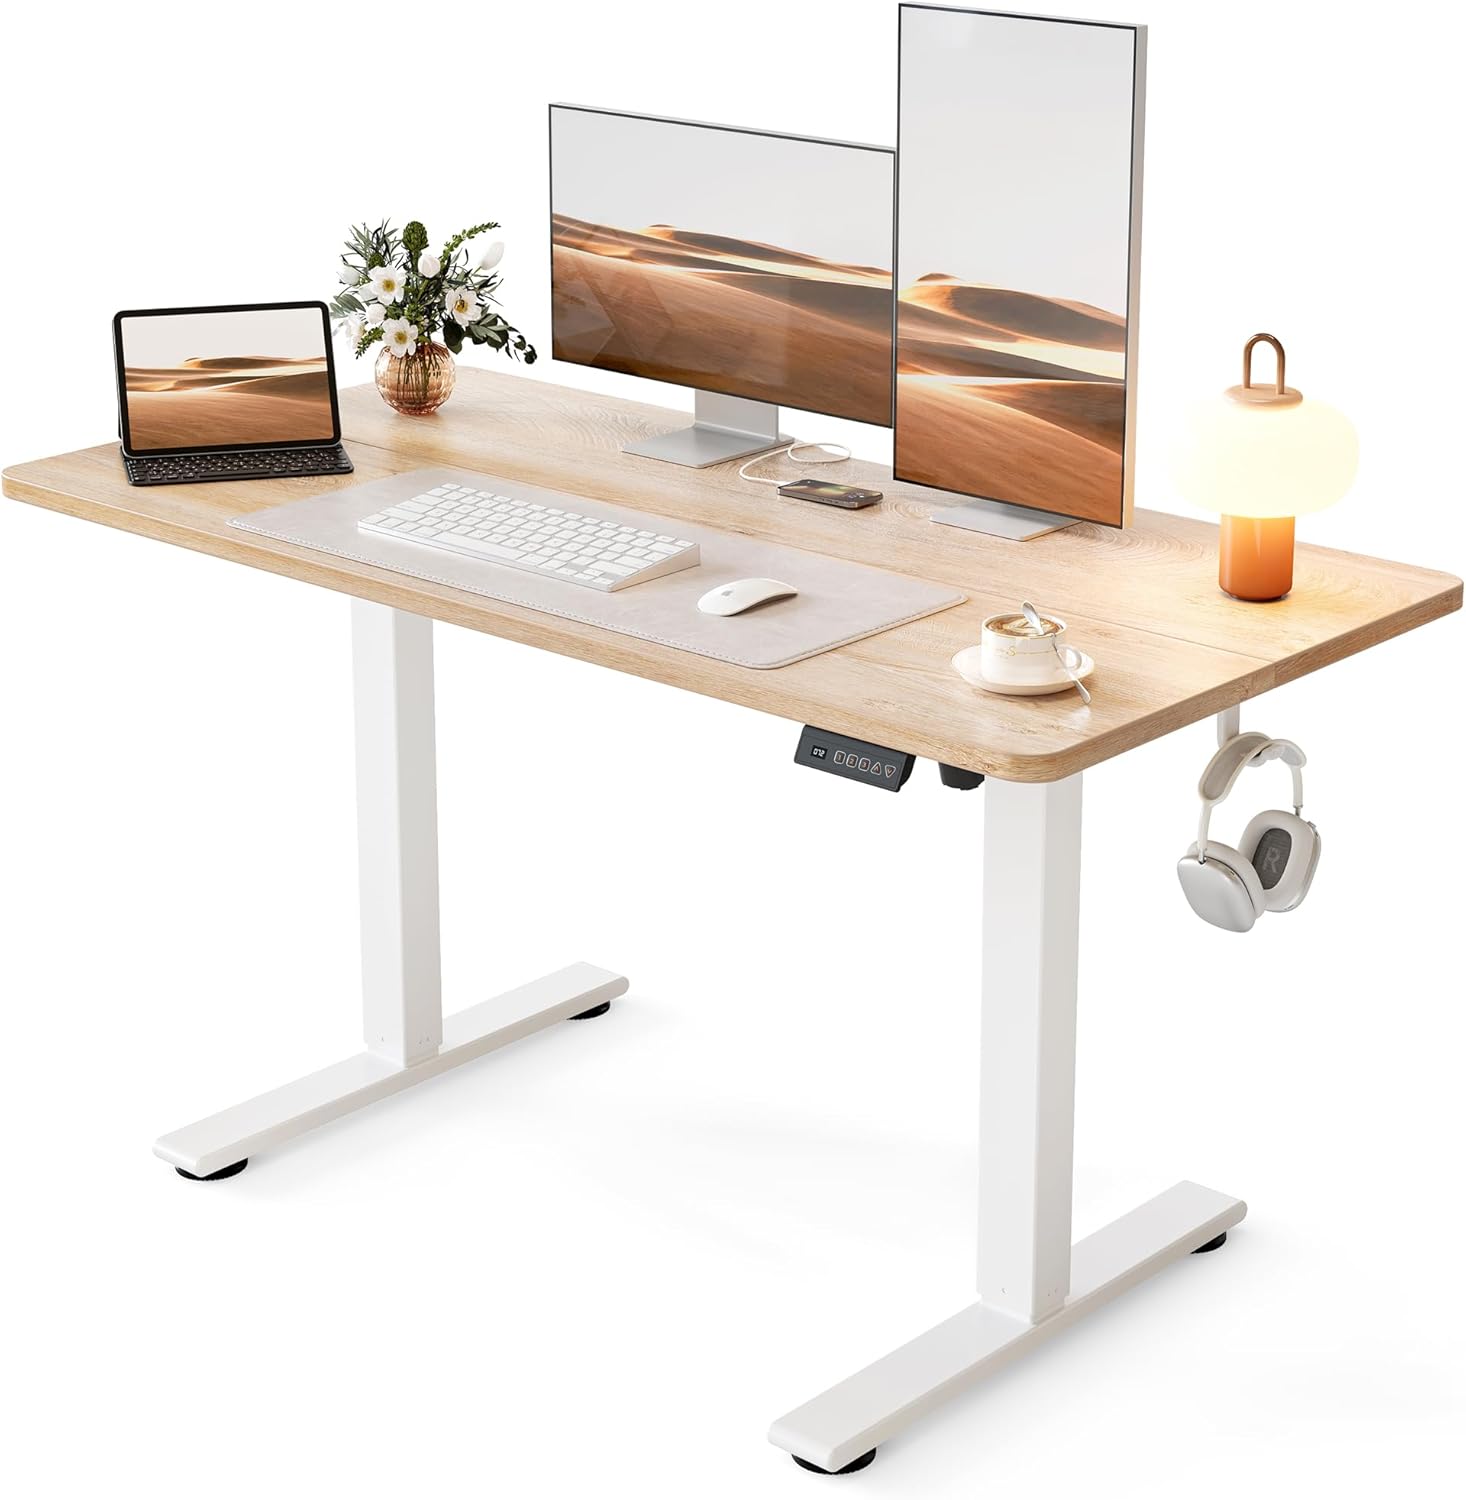
ErGear Height Adjustable Electric Standing Desk, 48 x 24 Inches Sit Stand up Desk, Memory Computer Home Office Desk, White

- Your physical environment shapes your mental state more than most people realize.
- Real organization starts with a blank surface.
- The key principle of desk organization is the zone system.
- Position your major equipment before any accessories.
Learning how to organize desk space effectively is one of the simplest ways to boost your focus and get more done each day. A cluttered desk does not just look chaotic; it quietly drains your attention, buries the tools you actually need, and adds friction to every task. A well-organized desk does the opposite, putting your most-used items within easy reach, clearing your sightline of distractions, and giving your mind room to concentrate. The best part is that organizing your desk is a one-time project with lasting payoff, and it does not require expensive gadgets. This guide walks you through a practical system for arranging your desk around the way you actually work.
📄 In This Review
- Why Desk Organization Affects Productivity
- Step 1: Clear Everything Off
- Step 2: Organize by Zones
- Step 3: Get the Big Items Right First
- Step 4: Tame the Cables
- Step 5: Add Smart Storage
- Step 6: Define a Clear Work Surface
- Step 7: Build a Maintenance Habit
- Reducing Digital Clutter Too
- Personalizing Without Cluttering
- Don't Forget Comfort
- Frequently Asked Questions
- Conclusion
Quick answer: Our top pick in 2026 is the Primary zone — our #1 rated choice. See the full ranked comparison, alternatives and buying advice below.
Why Desk Organization Affects Productivity
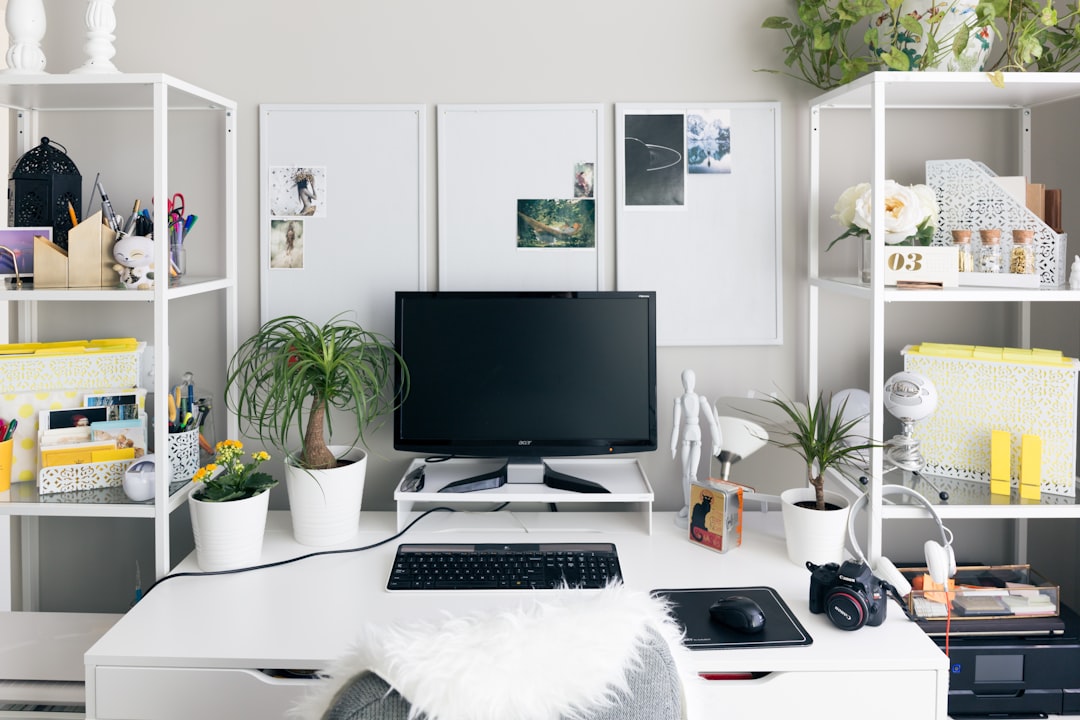
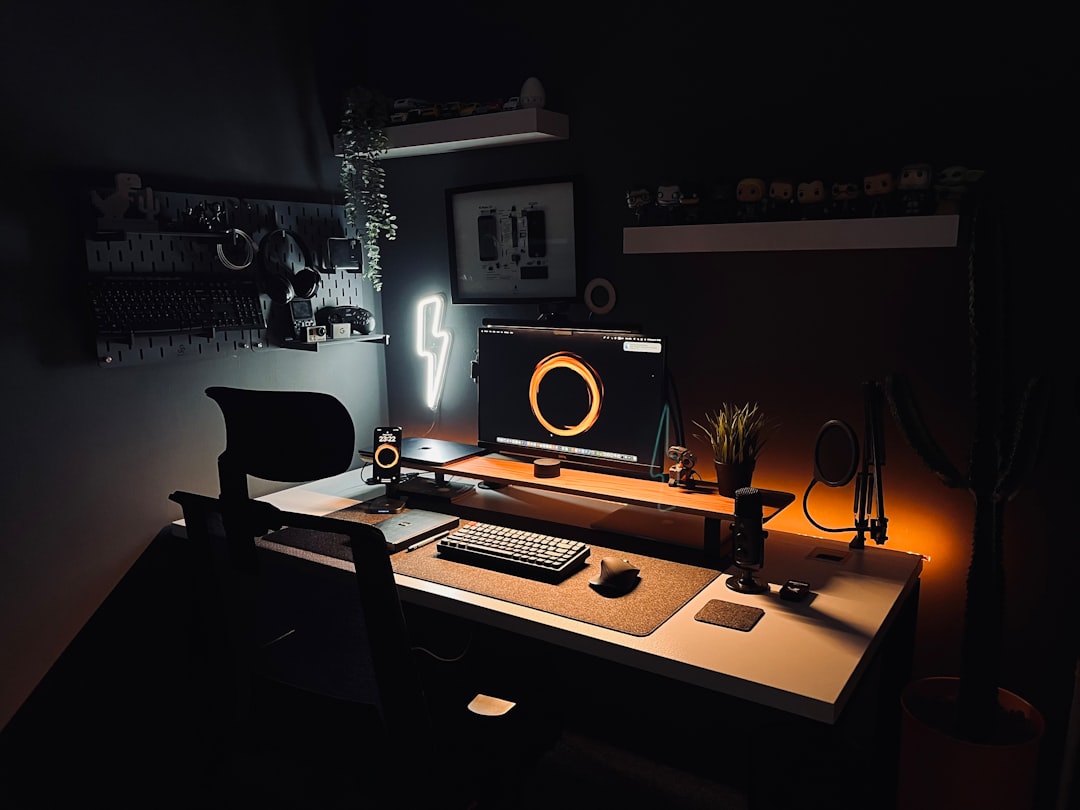
Your physical environment shapes your mental state more than most people realize. A messy desk competes for your attention, forcing your brain to filter out visual noise it would rather not process. Searching for a misplaced pen or document breaks your concentration and costs minutes that add up across a day. An organized desk removes that friction, so you spend your energy on work instead of on managing your surroundings.
Step 1: Clear Everything Off
See also: Best Desk Plants: Easy Greenery for Your Workspace • Keyboard Tray Benefits: Why You Might Need One
Real organization starts with a blank surface. Remove everything from your desk and clean the bare top. This forces you to consciously decide what earns a place back, rather than working around whatever happened to accumulate. As you clear it, sort items into three piles: keep on the desk, store elsewhere, and discard. Be honest; most desks hold far more than daily work requires.
Step 2: Organize by Zones
The key principle of desk organization is the zone system. Arrange items based on how often you use them, keeping frequently used tools closest and rarely used ones farther away or out of sight.
| Zone | Location | What Goes There |
|---|---|---|
| Primary zone | Directly in front, arm’s reach | Keyboard, mouse, items used constantly |
| Secondary zone | Within a short reach | Phone, notebook, pens, daily tools |
| Tertiary zone | Far corners or drawers | Occasional reference, supplies, decor |
This simple framework eliminates reaching and clutter at the same time. If you constantly grab something, it belongs in the primary zone; if you touch it once a week, it does not.
Step 3: Get the Big Items Right First
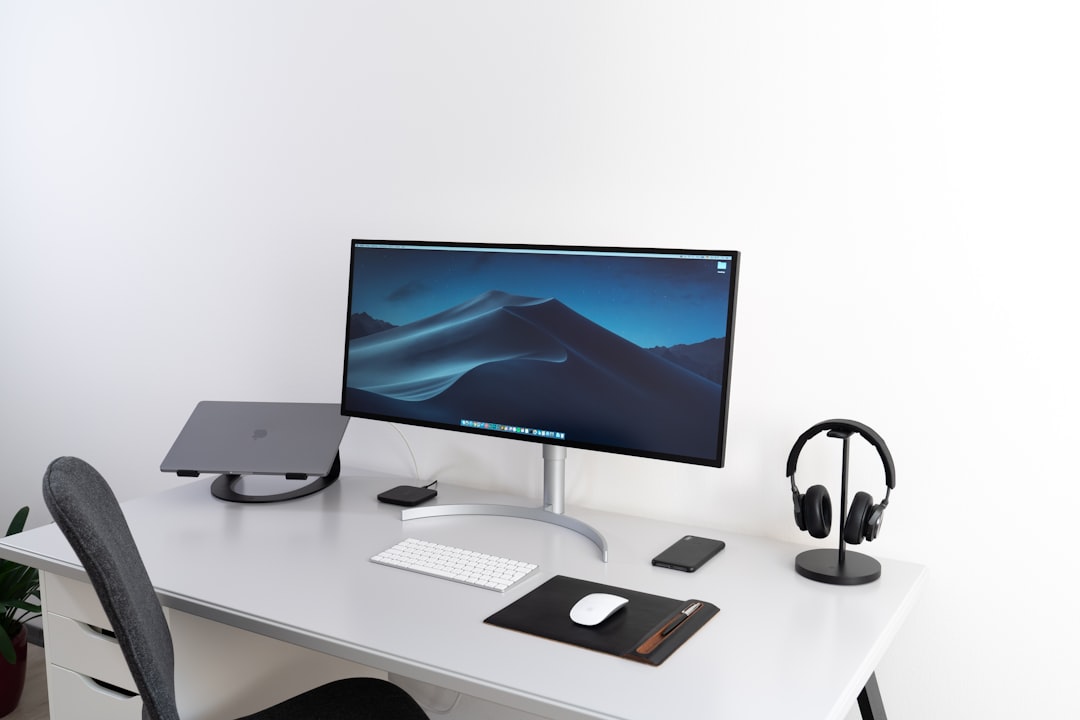
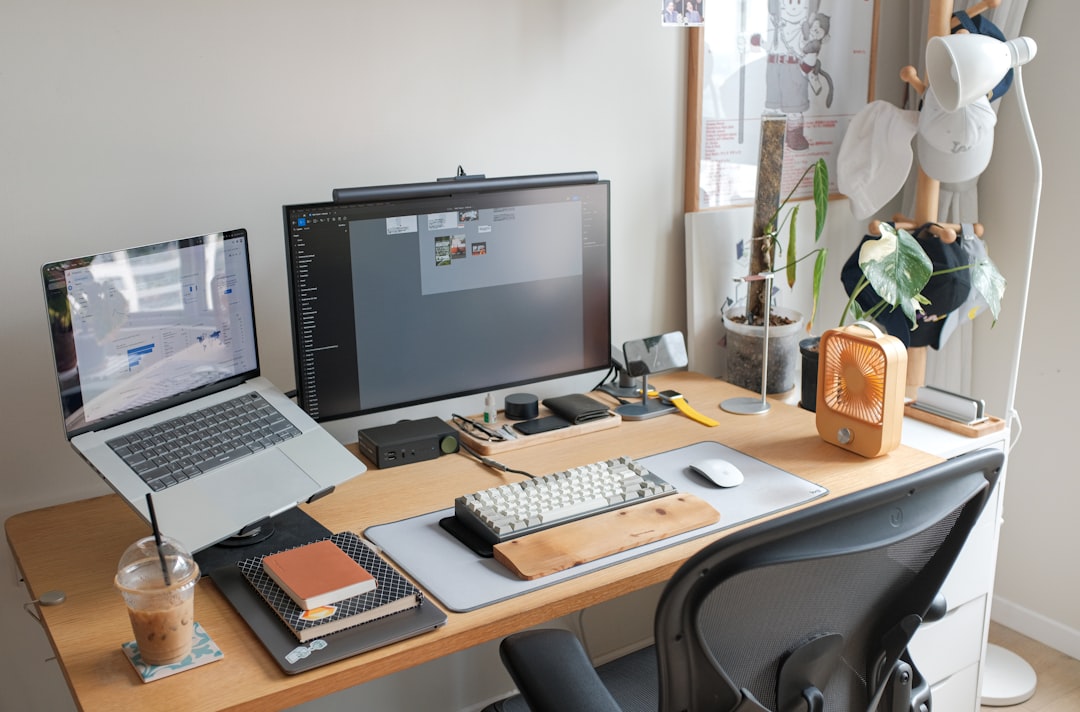
Position your major equipment before any accessories. Center your monitor in front of you at eye level and an arm’s length away, then place your keyboard and mouse directly in front so your forearms stay parallel to the floor. If you work on a laptop, raising it on a laptop stand both improves your posture and frees up the surface beneath for a keyboard or storage. Getting the anchors right gives everything else a logical place to fall into.
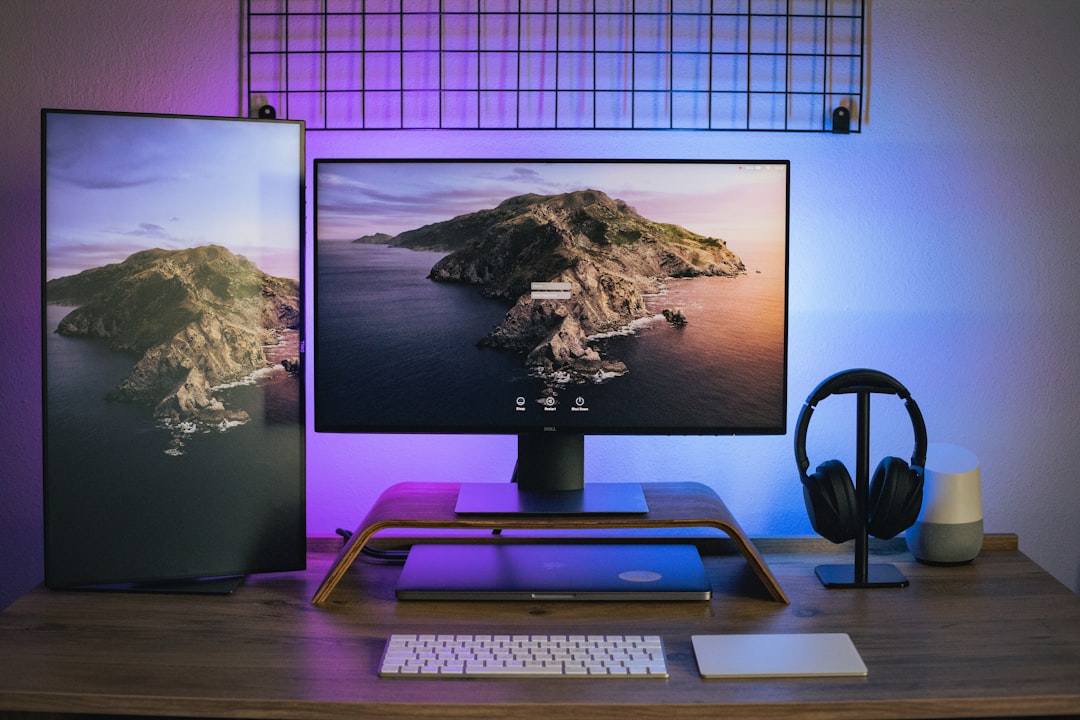
Step 4: Tame the Cables
Nothing undoes an organized desk faster than a nest of visible wires. Route your cables down one leg of the desk, bundle them with reusable ties, and hide the power strip and chunky adapters inside a cable management box. A clear, cable-free surface instantly looks and feels more orderly, and it makes cleaning effortless.
Step 5: Add Smart Storage
Once the essentials are placed, use targeted storage to keep small items contained rather than scattered:
- A small drawer organizer or tray corrals pens, sticky notes, and clips.
- A monitor riser with storage uses vertical space and lifts your screen at once.
- Vertical shelves or wall organizers move reference materials off the desktop.
- A single inbox tray collects incoming papers so they do not spread across the surface.
The goal is to give every item a defined home, so tidying up at the end of the day takes seconds.
Step 6: Define a Clear Work Surface
Leave an open area directly in front of you for actual work, whether that is writing, sketching, or just thinking. A desk mat is excellent for this because it visually defines your primary work zone, gives your mouse a smooth surface, and protects the desk. The mat acts as a subtle border that keeps clutter from creeping into your central workspace.
Step 7: Build a Maintenance Habit
Organization is not a one-time event; it is a habit. Spend two minutes at the end of each workday returning items to their zones, clearing the surface, and filing loose papers. This small ritual prevents clutter from accumulating and means you start each morning with a clean, ready workspace. A clean desk every morning sets a productive tone before you even begin.
Reducing Digital Clutter Too
A tidy physical desk loses much of its calming effect if your computer screen is a chaos of files, tabs, and notifications. Digital clutter taxes your attention the same way physical clutter does, so organizing your desk is only half the job. Take a few minutes to clear your computer desktop of stray files, close the dozens of browser tabs you are not actively using, and create simple folders so documents have a clear home. A clean digital workspace mirrors the clean physical one and reinforces the same sense of focus.
Notifications deserve special attention because they fragment concentration even when your desk is spotless. Every ping pulls your attention away and costs time to recover. Turning off non-essential alerts, silencing your phone during focus blocks, and batching email checks into a few set times each day removes a constant source of interruption. The goal of an organized desk is uninterrupted focus, and that focus is just as easily broken by a buzzing phone as by a cluttered surface.
Personalizing Without Cluttering
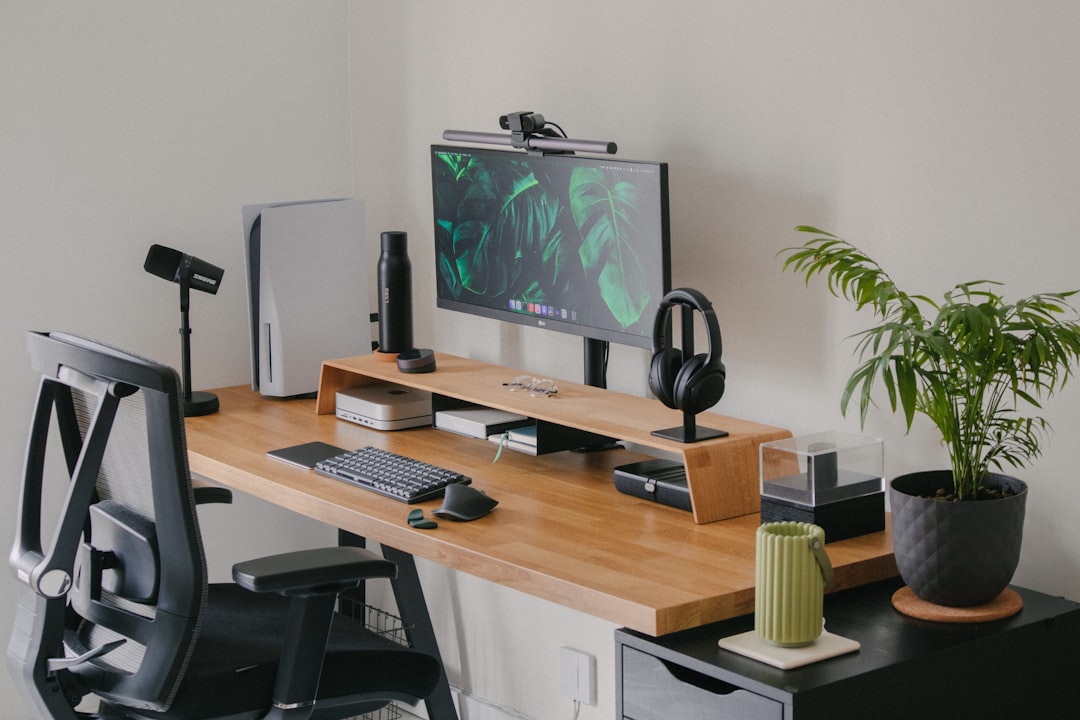
An organized desk does not have to be sterile or impersonal. A small amount of personalization, a single plant, a framed photo, or one meaningful object, makes the space feel like yours and can genuinely lift your mood through the day. The key is restraint. The difference between a desk that feels welcoming and one that feels cluttered is the number of items competing for attention. Choose one or two pieces that matter to you and give them a deliberate place, rather than letting decorations accumulate across the surface. A living plant is a particularly good choice because it adds life and a touch of nature without demanding much space, and many people find that a bit of greenery makes long working hours more pleasant. Thoughtful, minimal personalization keeps your desk both functional and human.
Don’t Forget Comfort
An organized desk should also be a comfortable one. As you arrange your space, make sure your seated posture stays sound, with your feet supported and your spine in its natural curve. If your feet dangle at the correct desk height, adding a footrest keeps you comfortable through long focused sessions, which is the whole point of an organized, productive setup.
Frequently Asked Questions
How do I keep my desk organized long term?
Build a two-minute end-of-day habit: return every item to its zone, clear the surface, and file loose papers. Giving each item a defined home means tidying takes seconds, and starting each day with a clean desk keeps clutter from rebuilding.
What should be on my desk for productivity?
Keep only what you use daily within reach: your computer, keyboard, mouse, phone, a notebook, and a few pens. Move occasional-use items to drawers or shelves so your primary work surface stays clear and distraction-free.
How do I organize a small desk?
Use vertical space with a monitor riser or shelves, raise your laptop on a stand to reclaim surface area, and route cables out of sight. Keep only essentials on the desk and store everything else nearby but off the surface.
Does a messy desk really hurt productivity?
For most people, yes. Visual clutter competes for attention and searching for misplaced items breaks concentration. An organized desk reduces that friction so you can focus your energy on work rather than on managing your surroundings.
Where should I put my keyboard and mouse?
Place them directly in front of you in the primary zone, close together so you are not reaching, with your forearms parallel to the floor. This keeps your most-used tools at hand and supports good posture at the same time.
Conclusion
Knowing how to organize desk space comes down to a clear method: clear everything off, arrange items by how often you use them, anchor your big equipment first, tame your cables, add targeted storage, and protect an open work surface. Finish with a simple daily maintenance habit and your desk stays orderly without effort. The result is a workspace that supports your focus instead of fighting it, helping you do better work with less friction every single day.
Related guide: See our Best Desk Organizers in 2026 for the top picks and buying advice.
Related Reviews & Guides


How Much Desk Space Do You Need?

How to Set Up an Ergonomic Home Office