Last Updated: July 6, 2026
⚡ Key Takeaways
- Office workplaces are often set up by professionals who follow standardized guidelines.
- Your chair is the foundation, so set it first and let everything else follow.
- With the chair set, your desk should let your forearms rest parallel to the floor while you type, keeping your elbows near 90 degrees.
- Monitor placement is where most home setups fall apart, especially for laptop users.
Building an ergonomic home office setup is one of the highest-value investments you can make if you work from home, because the right arrangement protects your body from the slow, cumulative strain that leads to neck pain, sore wrists, and an aching lower back. The good news is that you do not need a designer chair or an expensive sit-stand desk to get most of the benefit. Ergonomics is mostly about angles, distances, and positioning, and almost all of it can be dialed in with what you already own. This step-by-step guide walks you through setting up each part of your workstation in the right order, from your chair to your screen to your lighting.
📄 In This Review
- Why Ergonomics Matters More at Home
- Step 1: Start With Your Chair
- Step 2: Set Your Desk and Keyboard Height
- Step 3: Position Your Monitor
- Step 4: Optimize Lighting and Screen Glare
- Step 5: Build In Movement
- Quick Reference Checklist
- Common Home Office Ergonomic Mistakes
- Setting Up on a Budget vs Investing in Gear
- Adapting Your Setup Through the Day
- Top-Rated Picks
- Frequently Asked Questions
- Conclusion
Quick answer: Our top pick in 2026 is the Feet — our #1 rated choice. See the full ranked comparison, alternatives and buying advice below.
Why Ergonomics Matters More at Home
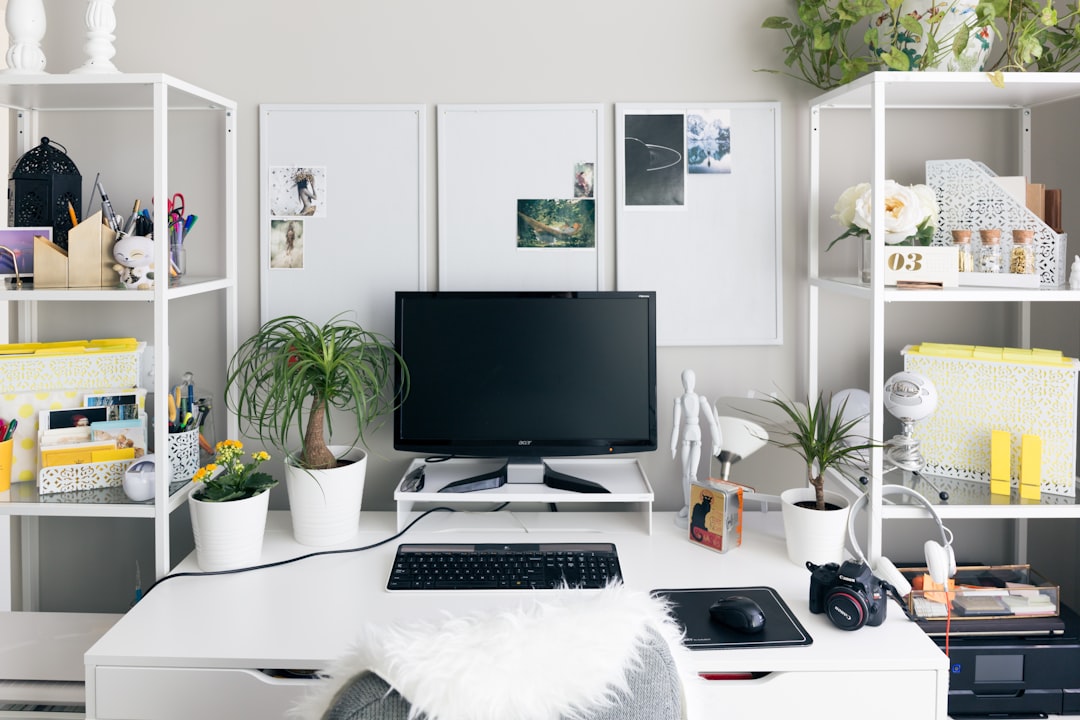
Office workplaces are often set up by professionals who follow standardized guidelines. At home, people improvise. They work from kitchen tables, couches, and beds, using laptops perched at the wrong height. Over weeks and months, these small misalignments compound into real discomfort and even injury. A deliberate setup reverses that trend, and the time you spend getting it right pays off every single working day.
Step 1: Start With Your Chair
See also: Best Desk Plants: Easy Greenery for Your Workspace • Keyboard Tray Benefits: Why You Might Need One
Your chair is the foundation, so set it first and let everything else follow. A well-adjusted chair keeps your spine in its natural S-curve and your feet supported.
- Adjust the seat height so your thighs are roughly parallel to the floor and your feet rest flat.
- Sit all the way back so your lower back contacts the backrest. Use the lumbar support, or add a small cushion if there is none.
- Set the armrests so your shoulders relax and your elbows rest at about 90 degrees.
- Leave a two-to-three finger gap between the back of your knees and the seat edge.
If your feet dangle even at the correct elbow height, a footrest restores support and takes pressure off the backs of your thighs.
Step 2: Set Your Desk and Keyboard Height
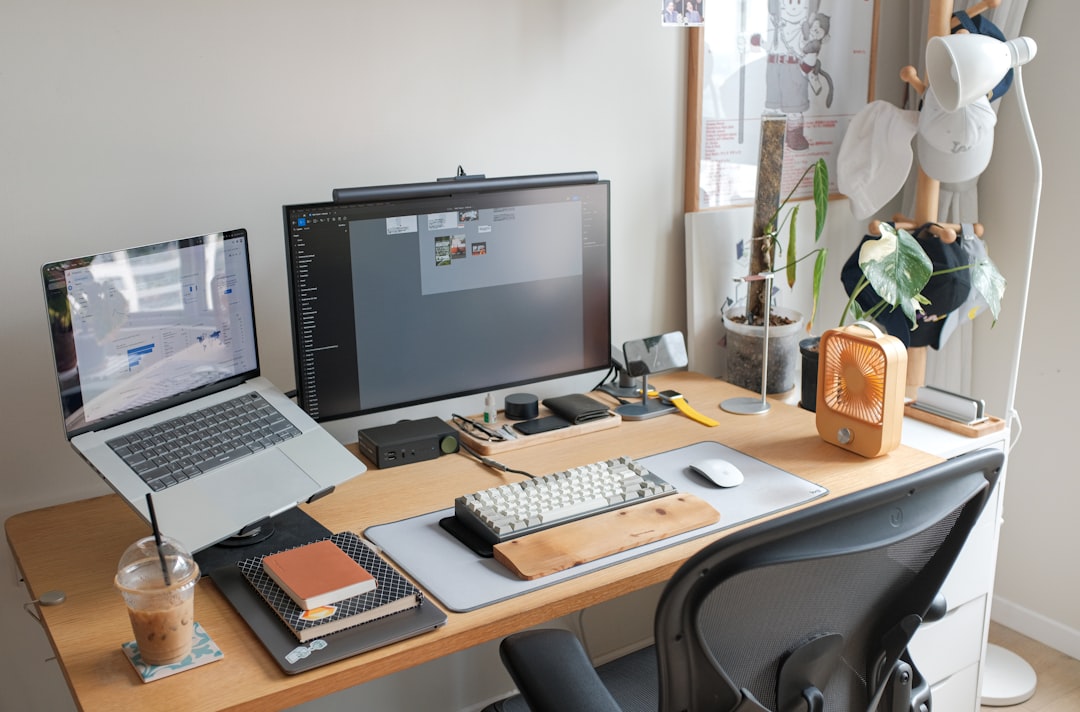
With the chair set, your desk should let your forearms rest parallel to the floor while you type, keeping your elbows near 90 degrees. Position the keyboard and mouse close together so you are not reaching, and keep your wrists straight rather than bent up or down. A soft surface under your wrists helps; a quality desk mat provides a smooth, padded area for both keyboard and mouse.
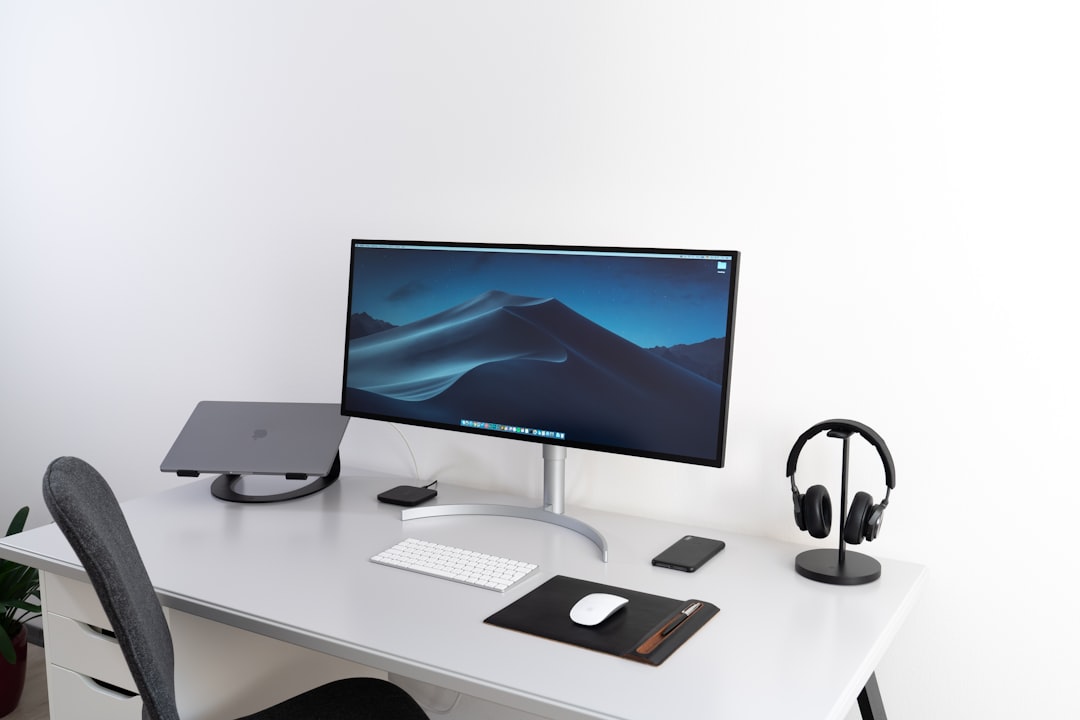
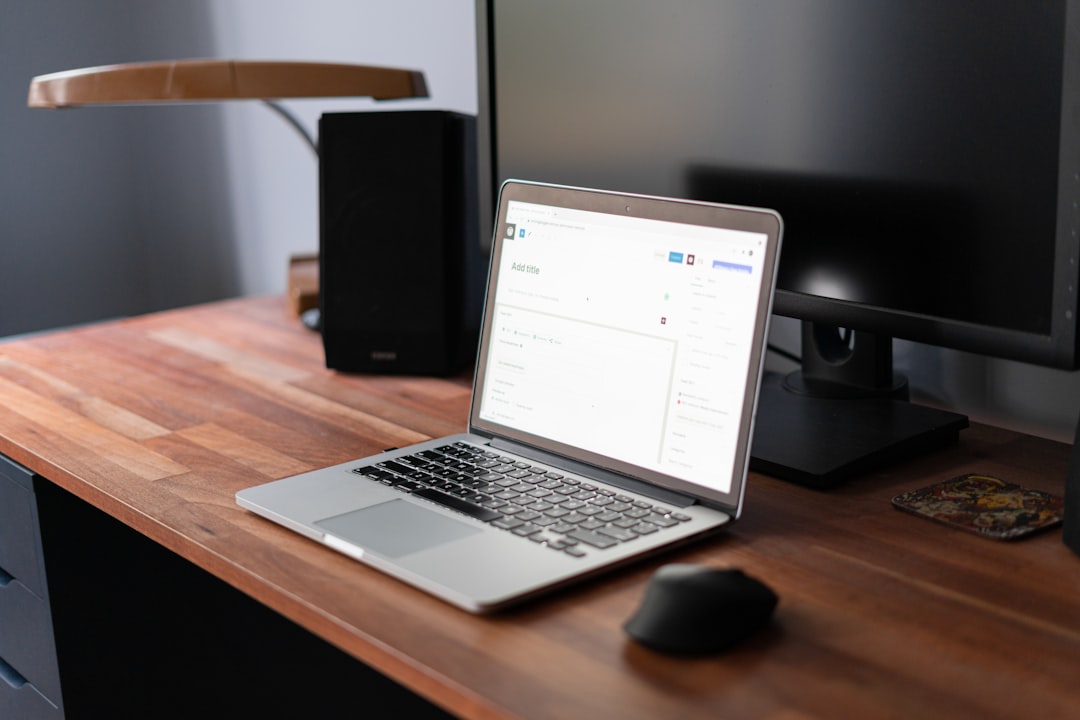
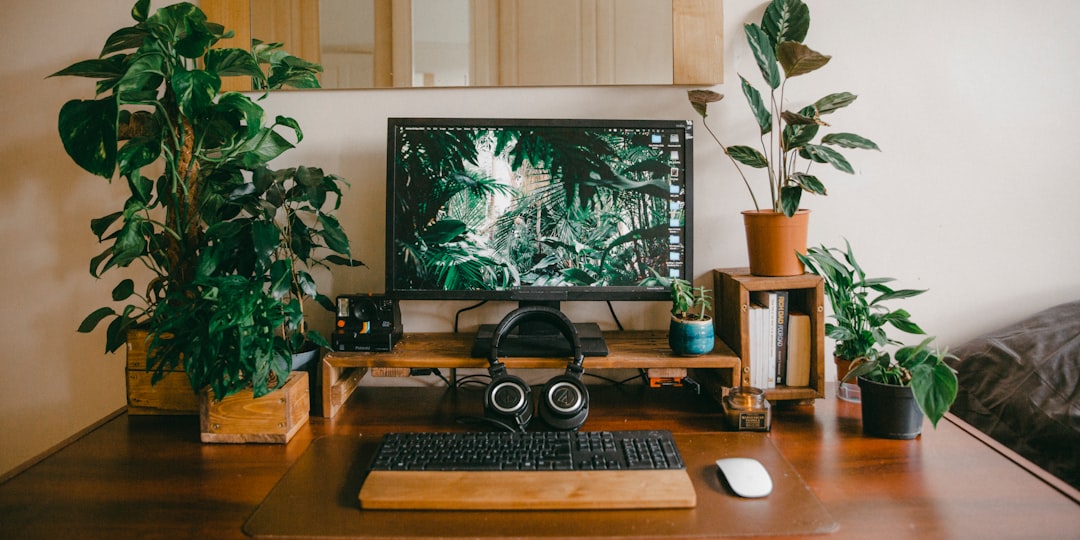
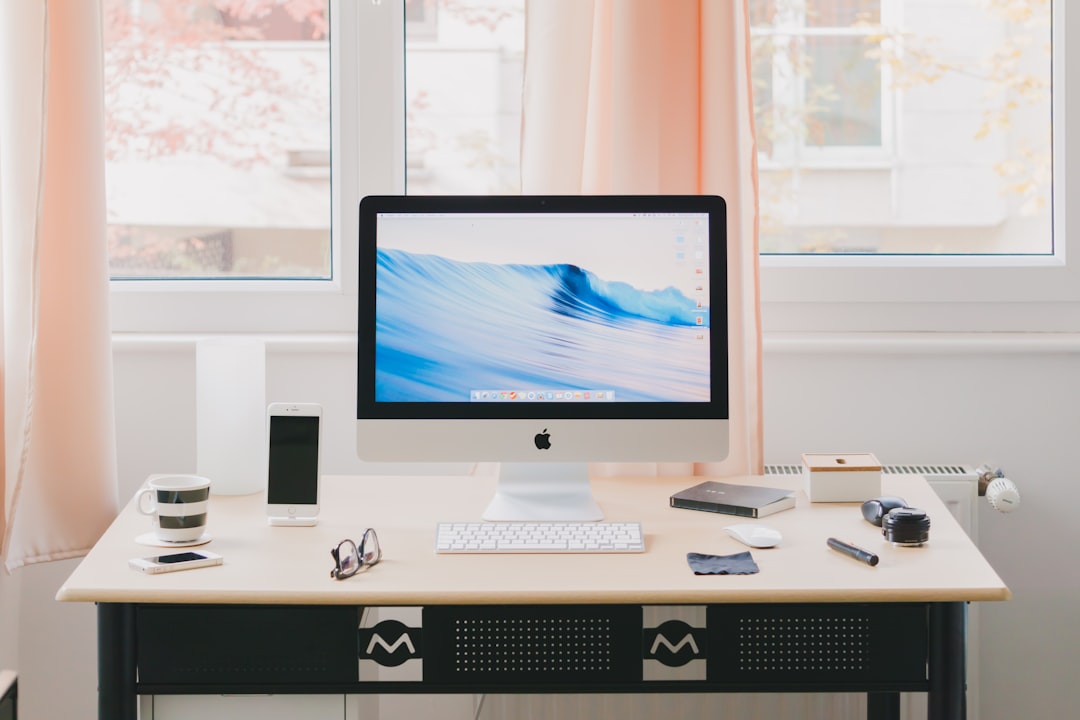
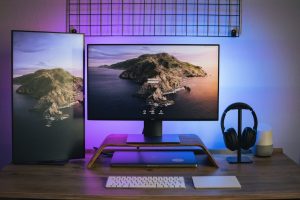
Step 3: Position Your Monitor
Monitor placement is where most home setups fall apart, especially for laptop users. Aim for these targets:
- Height: The top of the screen should sit at or slightly below eye level so you look very slightly downward.
- Distance: Place the screen about an arm’s length away, roughly 20 to 30 inches.
- Angle: Tilt the screen back 10 to 20 degrees so it faces your eyes squarely.
If you work on a laptop, the attached screen is almost always too low. Raising it with a laptop stand and adding an external keyboard and mouse is the single biggest ergonomic upgrade most remote workers can make.
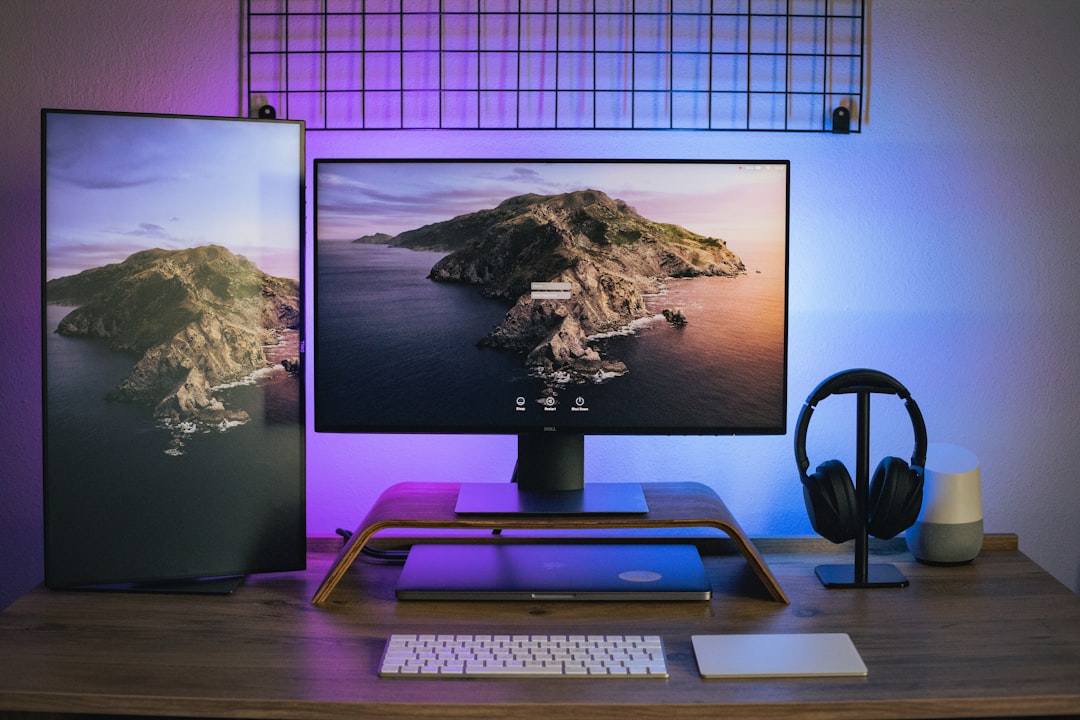
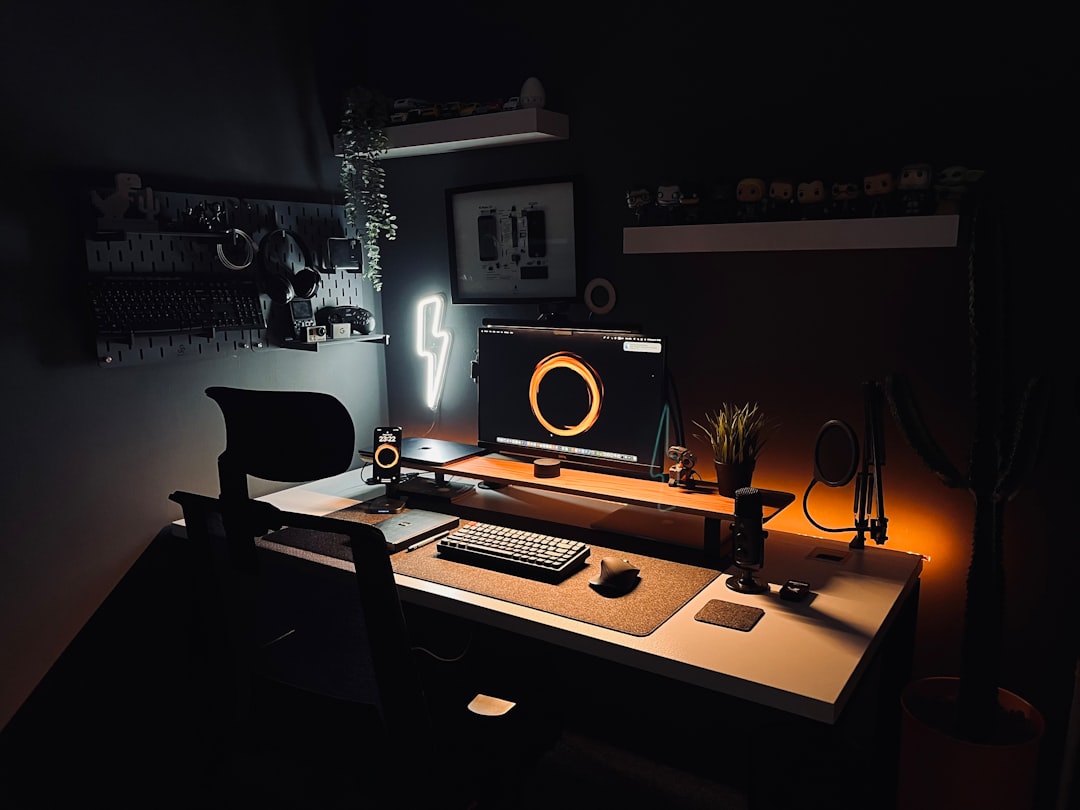
Step 4: Optimize Lighting and Screen Glare
Poor lighting forces you to lean toward the screen or squint, which strains both your eyes and your neck. Position your main light source to the side rather than directly behind or in front of the monitor to avoid glare and silhouetting. Natural light is ideal, but a desk lamp with adjustable brightness fills the gaps on dark days. Reduce screen brightness until it roughly matches the surrounding room rather than glowing far brighter.
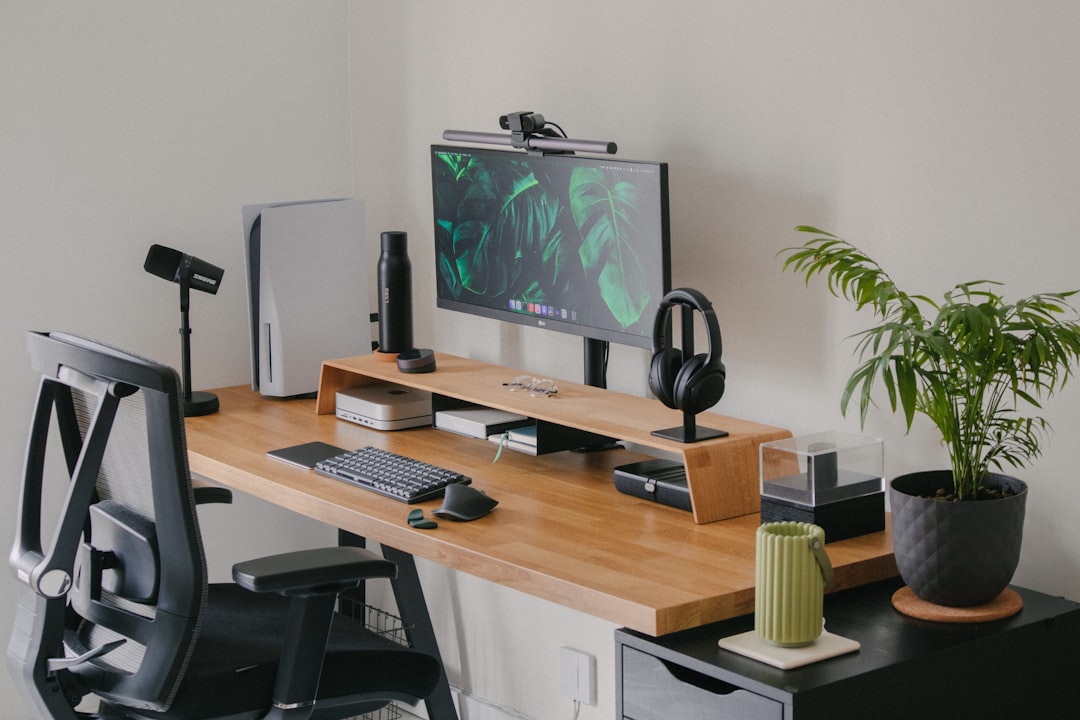
Step 5: Build In Movement
Even a perfect static posture becomes uncomfortable over hours. The healthiest setup encourages position changes. Stand up to stretch every 30 to 60 minutes, take calls on your feet, and consider alternating between sitting and standing if your desk allows it. A standing desk converter is an affordable way to add a standing option without replacing your desk.
Quick Reference Checklist
| Body Area | Target Position | Common Mistake |
|---|---|---|
| Feet | Flat on floor or footrest | Dangling or tucked under chair |
| Knees | Roughly 90 degrees | Higher than hips |
| Elbows | Near 90 degrees, relaxed shoulders | Reaching up to keyboard |
| Wrists | Straight and neutral | Bent up while typing |
| Eyes | Level with top of screen | Looking down at a laptop |
| Back | Supported natural curve | Slumped or leaning forward |
Common Home Office Ergonomic Mistakes
Even people who try to set things up well tend to repeat a handful of errors. Watch out for these:
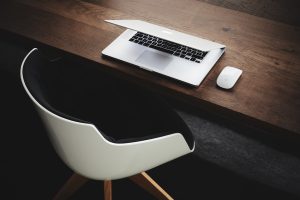
- Working on a laptop on the couch or bed, which guarantees a hunched neck.
- Crossing legs or sitting on one foot, which twists the pelvis and spine.
- Holding the phone between ear and shoulder during calls.
- Placing the mouse far from the keyboard, forcing repeated reaching.
- Leaving the monitor too low because no stand is available.
Setting Up on a Budget vs Investing in Gear
One of the most reassuring truths about ergonomics is that the principles cost nothing. The angles, distances, and positions your body prefers do not care whether you achieve them with a premium chair or a stack of books. That said, dedicated gear makes the right positions easier to hold and more comfortable over long sessions, so it helps to know where spending makes the biggest difference.
If you have no budget at all, you can still build a sound setup. A rolled towel placed behind your lower back restores lumbar support. A sturdy box or ream of paper raises a laptop screen toward eye level. A firm cushion on a too-deep seat improves your posture, and a footrest can be improvised from any stable object of the right height. These makeshift solutions are not pretty, but they deliver the same biomechanical benefits as their store-bought counterparts.
When you do decide to invest, prioritize the items that touch your body for the most hours. A supportive chair is usually the highest-value purchase because you sit in it all day and a poor one undermines everything else. After that, a way to raise your screen and a separate keyboard transform laptop ergonomics dramatically. Comfort accessories like a padded desk mat and a contoured footrest come next, refining a setup that is already fundamentally sound. Spending in that order means every dollar improves the parts of your day that matter most.
Adapting Your Setup Through the Day
A truly ergonomic workspace is not a fixed monument you build once and never touch. The healthiest setup flexes with your tasks and your energy. During focused work that demands precision, you might lower into a well-supported seated position. For calls, reading, or brainstorming, standing or perching keeps you alert and moving. Treating your workstation as something you adjust throughout the day, rather than a single locked configuration, is what separates a setup that merely looks correct from one that genuinely keeps you comfortable and productive from morning to evening.
Top-Rated Picks

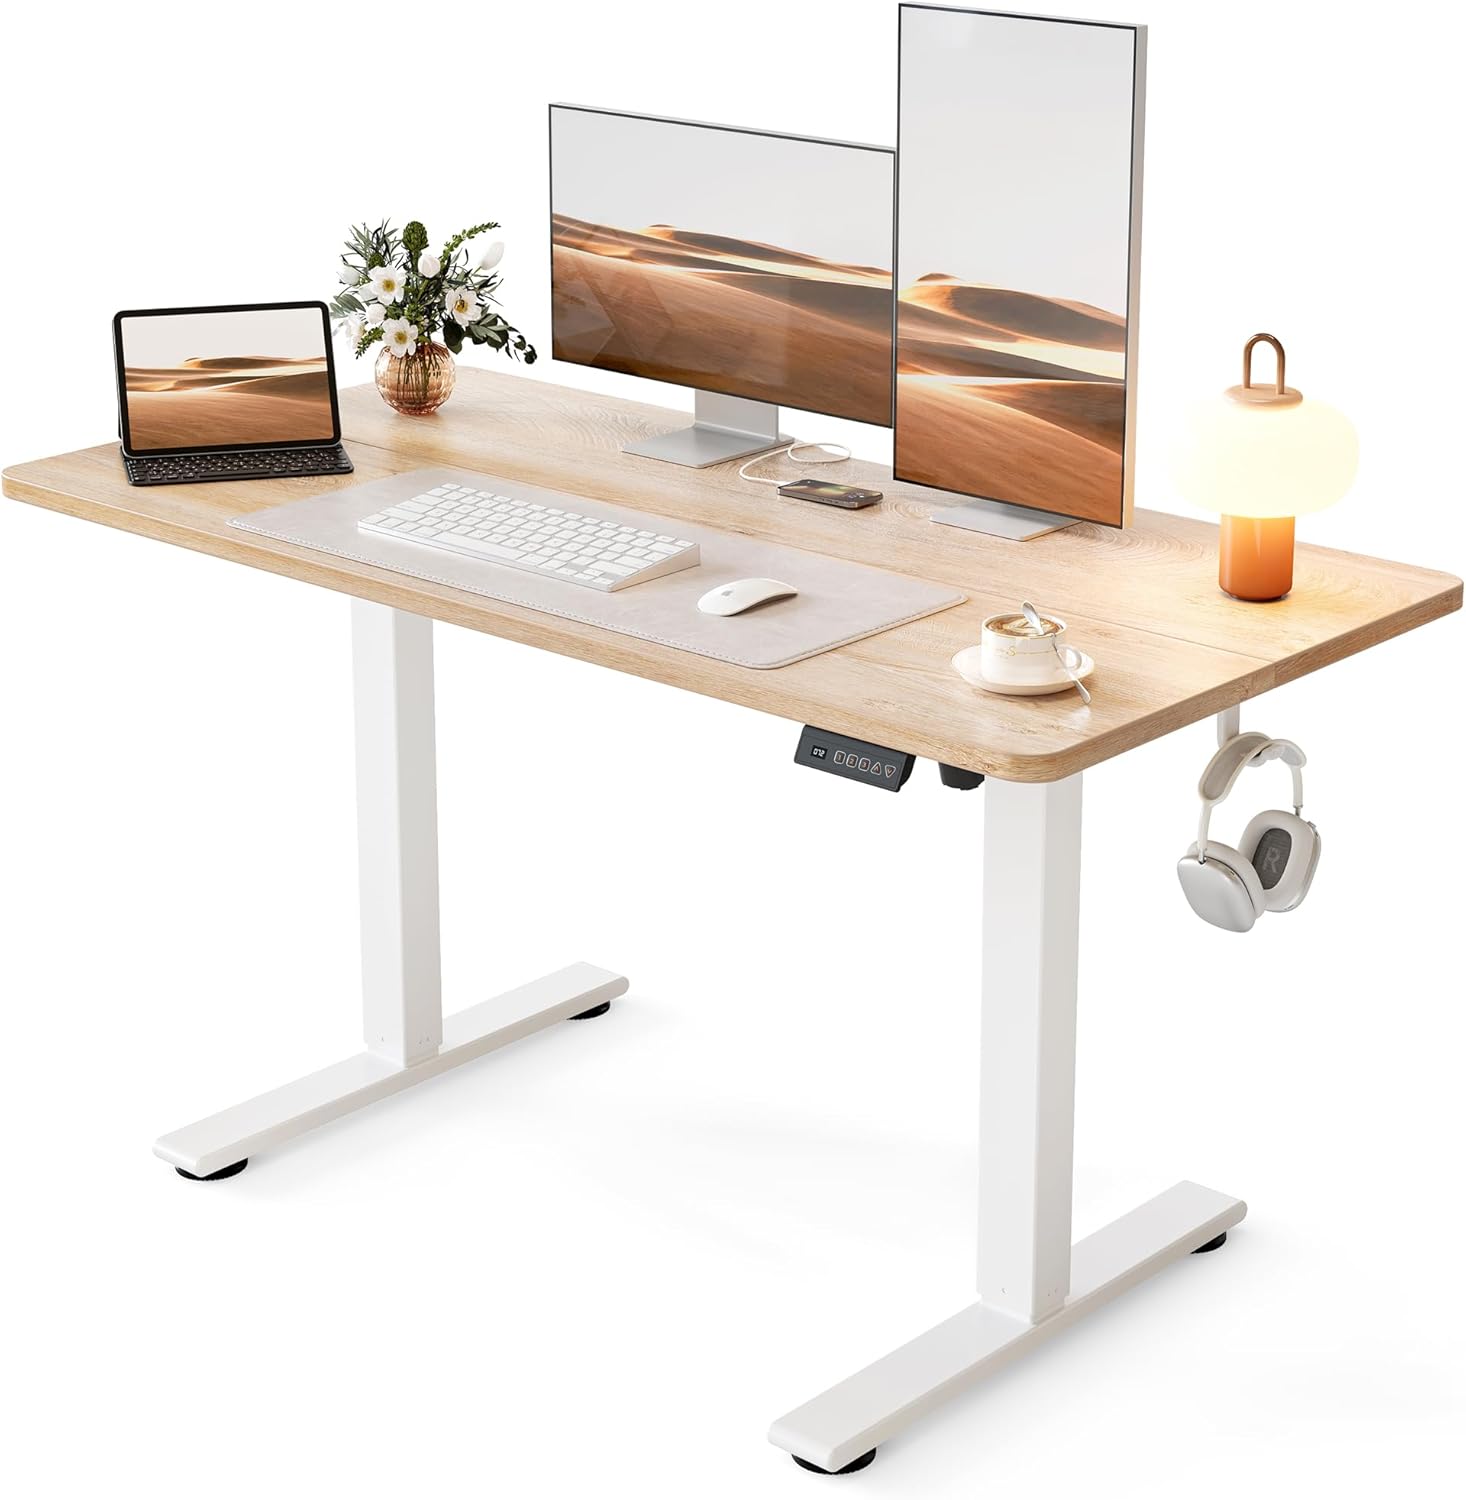
ErGear Height Adjustable Electric Standing Desk, 48 x 24 Inches Sit Stand up Desk, Memory Computer Home Office Desk, White


| Product | Brand | Rating | Reviews | Price |
|---|---|---|---|---|
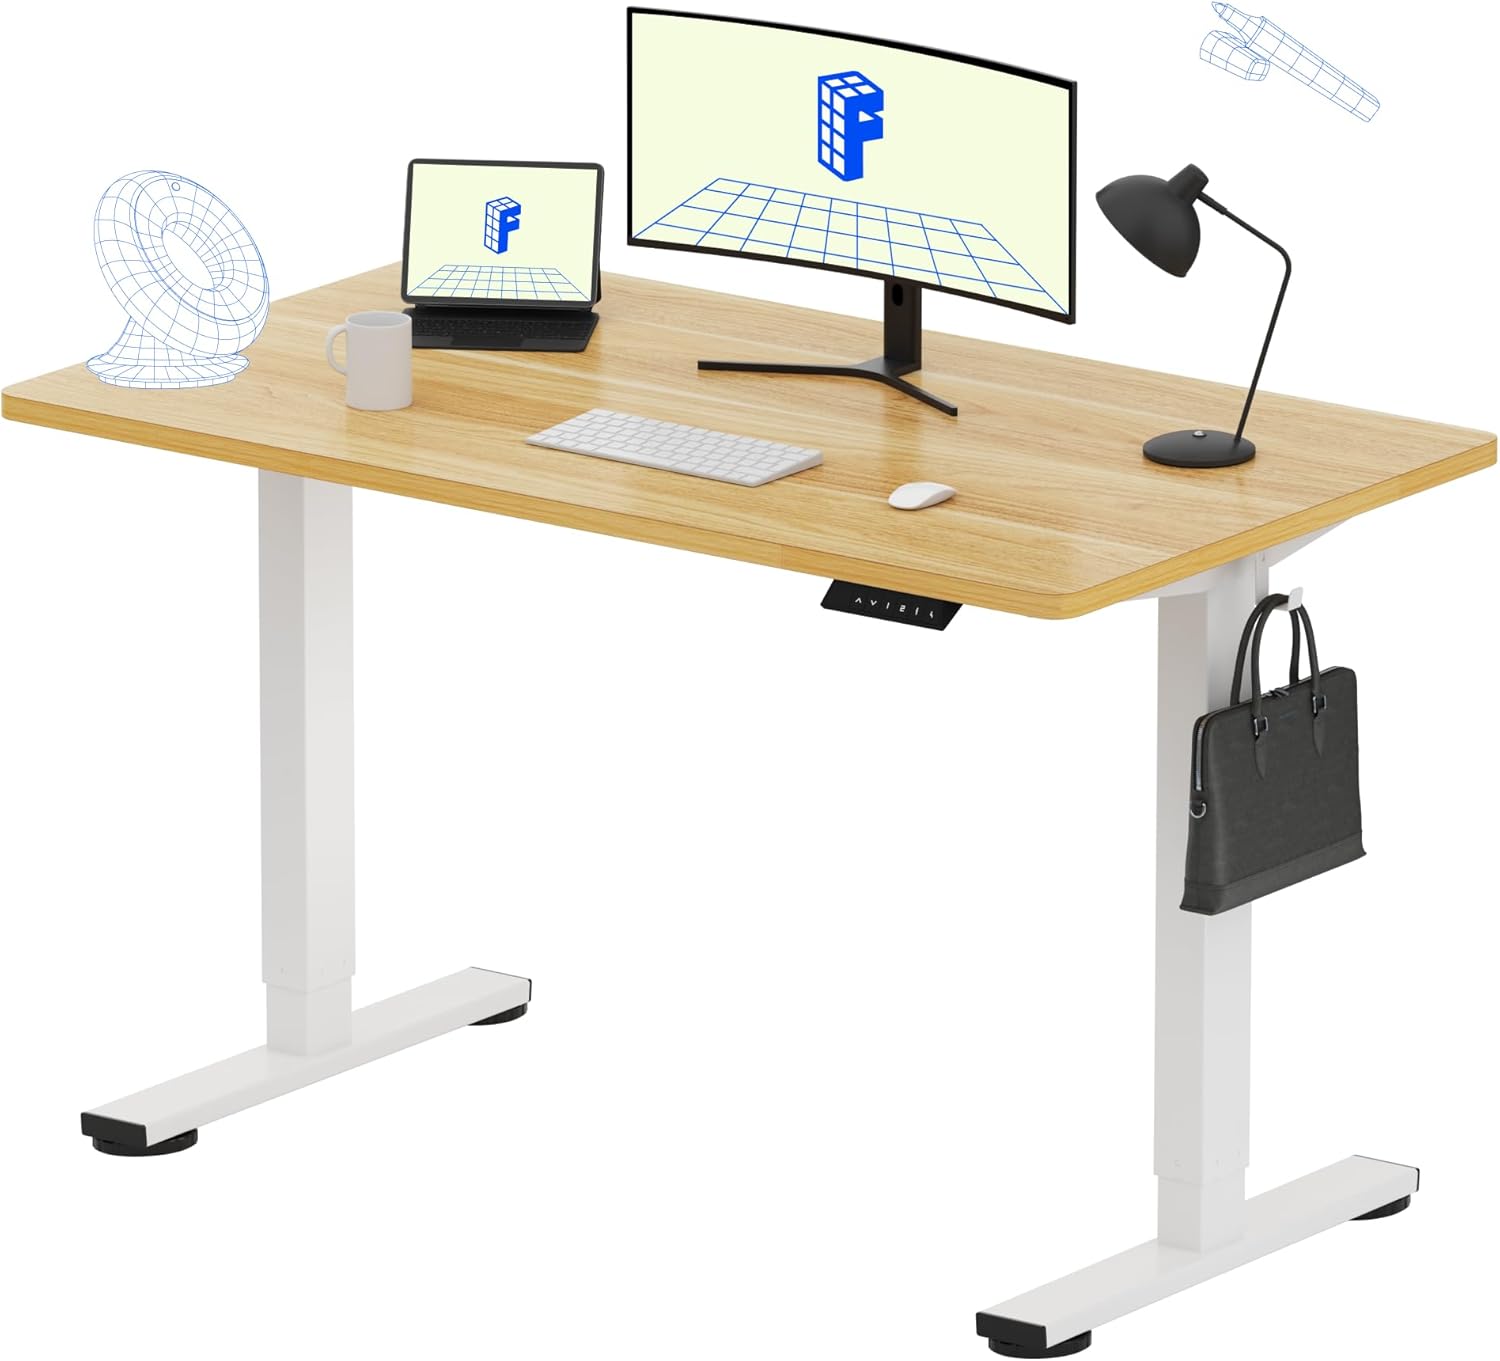
| FLEXISPOT EN1 One-Piece Standing Desk, Electric Adjus… | — | ★ 4.5 | 12.5k | $109.99 |
| ErGear Height Adjustable Electric Standing Desk, 48 x… | ErGear | ★ 4.5 | 11.3k | $109.99 |
| Cubiker Standing Desk, 48×24 Inches Sit Stand Home Of… | CubikerHomeOfficeFurniture | ★ 4.7 | 4.3k | $86.01 |
| FEZIBO Standing Desk, 48 × 24 Inches Electric Height … | FEZIBO | ★ 4.6 | 4.6k | $99.99 |
| Desktronic HomeOne Standing Desk 48×24 — Ergonomic Si… | Desktronic | ★ 4.8 | 3k | $449.99 |
Frequently Asked Questions
What is the most important part of an ergonomic setup?
If you can only fix one thing, raise your screen to eye level and use a separate keyboard. Looking down at a low screen for hours is the most common cause of neck and upper-back pain in home offices.
Can I make my setup ergonomic without spending much money?
Yes. Books or a sturdy box can raise a monitor, a rolled towel can add lumbar support, and a footrest can be improvised. The principles matter more than the price tags, though dedicated accessories are more comfortable and stable.
How often should I take breaks?
Aim to change position or stand up every 30 to 60 minutes. A common approach is the 20-20-20 rule for eyes: every 20 minutes, look at something 20 feet away for 20 seconds.
Is a standing desk necessary for good ergonomics?
No. A standing desk is helpful for adding movement, but a well-adjusted seated setup is perfectly healthy. The key is varying your posture rather than holding any single position all day.
Why do my wrists hurt even with a good chair?
Wrist pain usually comes from typing with bent wrists or a keyboard that is too high. Keep your wrists straight, lower the keyboard to elbow height, and use a padded surface to support them while typing.
Conclusion
An ergonomic home office setup comes together when you work from the ground up: chair first, then desk and keyboard, then monitor, then lighting, and finally movement. None of it requires a big budget, just attention to the angles and distances your body prefers. Set it up once with care, revisit it occasionally, and your future self will thank you with fewer aches and more comfortable, productive workdays.
Related: Back-to-School 2026: Best Student Desk Setups (and Cooling for a Hot Home Office)
Related Reviews & Guides


How to Organize Your Desk for Productivity
Laptop vs Desktop for Work: Which Is Right for You?