Last Updated: July 3, 2026
⚡ Key Takeaways
- A webcam's image sensor needs light to produce a clean picture.
- The most common lighting mistake is having a bright light source behind you, such as a window or a lamp.
- Direct, hard light, like a bare bulb or harsh overhead fixture, casts strong shadows and emphasizes every texture on your face.
- For the best results, photographers and videographers use a three-point setup.
You can own the most expensive webcam on the market and still look washed out, grainy, or shadowy on video calls if your lighting is wrong. Webcam lighting is the single biggest factor in how you appear on screen, far more important than megapixels or fancy autofocus. The difference between a dim, unflattering image and a crisp, professional one usually comes down to where your light is, how soft it is, and what color it is. The best part is that good lighting does not require a studio. With a few principles and often the lighting you already have, you can dramatically improve how you look on every call. This guide explains how.
📄 In This Review
- Why Lighting Matters More Than Your Camera
- The Golden Rule: Light in Front, Not Behind
- Soft Light Beats Harsh Light
- The Three-Point Lighting Approach
- Get the Color Temperature Right
- Avoid Overhead Lighting Alone
- Position Your Setup for the Camera
- Simple Upgrades on Any Budget
- Top-Rated Picks
- Frequently Asked Questions
- Conclusion
Quick answer: Our top pick in 2026 is the Key light — our #1 rated choice. See the full ranked comparison, alternatives and buying advice below.
Why Lighting Matters More Than Your Camera
A webcam’s image sensor needs light to produce a clean picture. In dim conditions the camera compensates by raising its sensitivity, which introduces grain and noise and makes everything look muddy. Give it plenty of soft, even light and the same sensor produces a sharp, color-accurate image. This is why a midrange webcam in good light beats a premium one in a dark room every time. Before upgrading hardware, fix your lighting, you will likely be amazed at the improvement from your existing webcam.
The Golden Rule: Light in Front, Not Behind
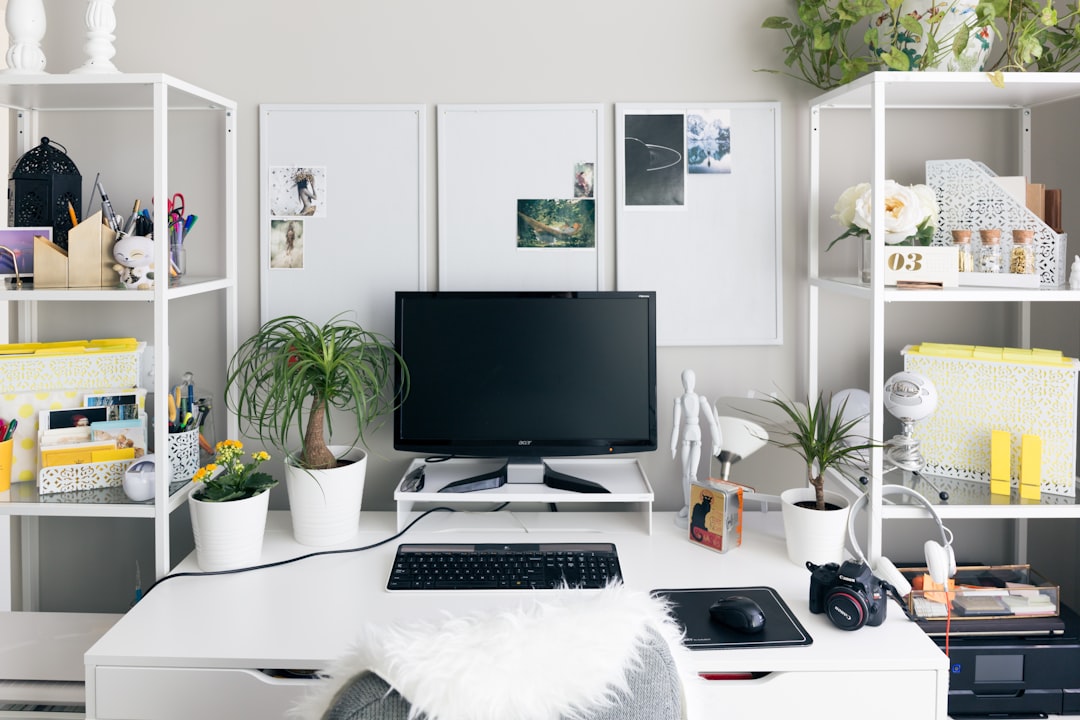
See also: Best Desk Plants: Easy Greenery for Your Workspace • Keyboard Tray Benefits: Why You Might Need One
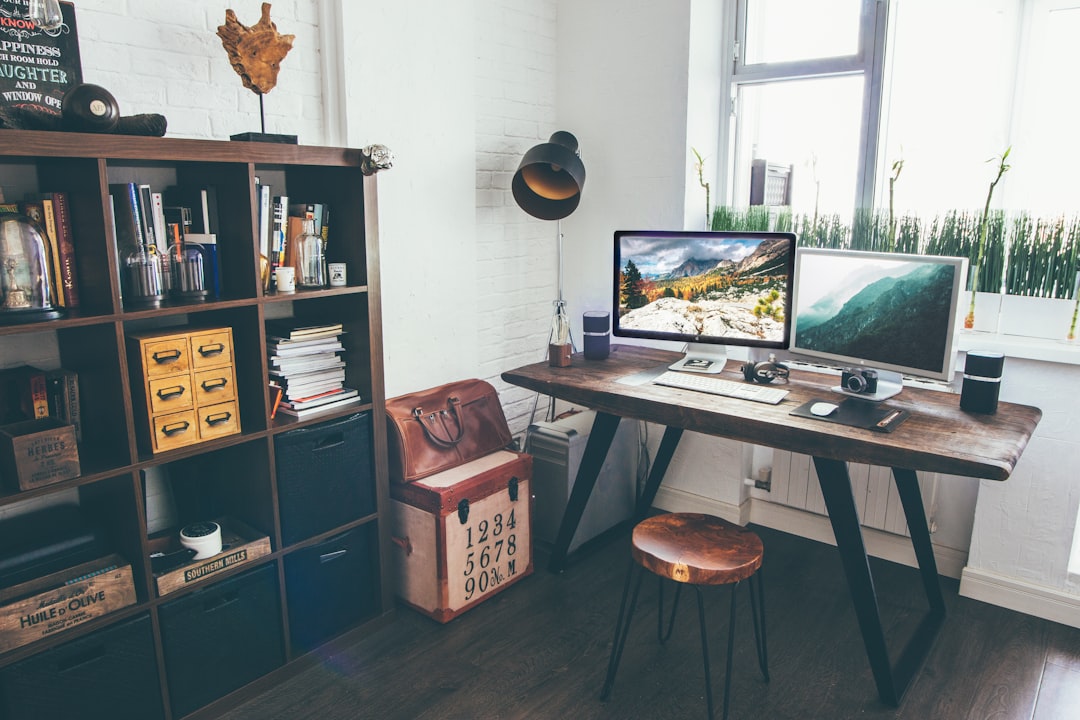
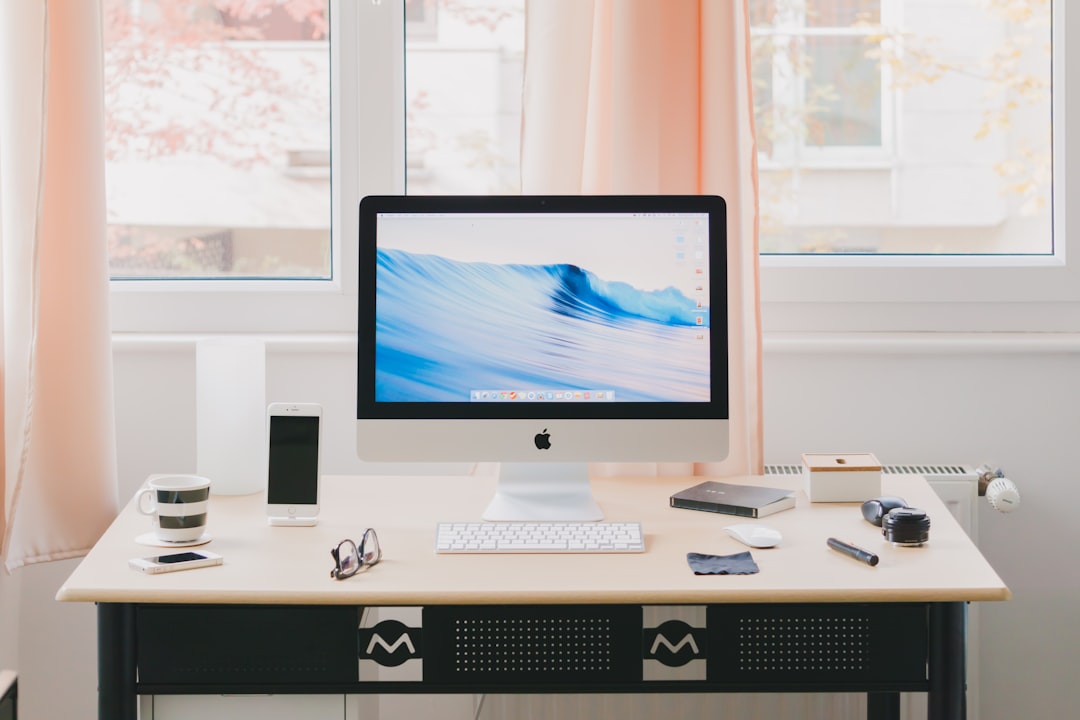
The most common lighting mistake is having a bright light source behind you, such as a window or a lamp. The camera exposes for the bright background, turning you into a dark silhouette. The fix is simple: your main light should come from in front of you, facing your face, ideally slightly above eye level and angled down a little.
If you have a window, sit facing it rather than with your back to it. Natural daylight from a window in front of you is soft, flattering, and free. If the window is to your side, you will get uneven lighting with one half of your face brighter than the other, which you can soften with a second light or a reflective surface on the dark side.
Soft Light Beats Harsh Light
Direct, hard light, like a bare bulb or harsh overhead fixture, casts strong shadows and emphasizes every texture on your face. Soft, diffused light wraps around your features and looks far more flattering. You can soften light by bouncing it off a wall or ceiling, diffusing it through a curtain or a softbox, or using a larger light source positioned closer to you.
This is the principle behind ring lights and LED panels with diffusion, they spread light over a large area so it arrives soft. A large, soft source close to your face is the secret behind professional-looking video.
The Three-Point Lighting Approach
For the best results, photographers and videographers use a three-point setup. You can adapt a simplified version for video calls:
| Light | Position | Purpose |
|---|---|---|
| Key light | In front, slightly to one side, above eye level | Main illumination on your face |
| Fill light | Opposite side of the key, dimmer | Softens shadows from the key light |
| Back light | Behind and above you | Separates you from the background |
You do not need three dedicated lamps. A bright window or main lamp can serve as the key, a lighter wall or a second small lamp can act as fill, and a lamp behind you adds depth. Even using just a strong key light in front of you will transform your image compared with relying on overhead room lighting alone.
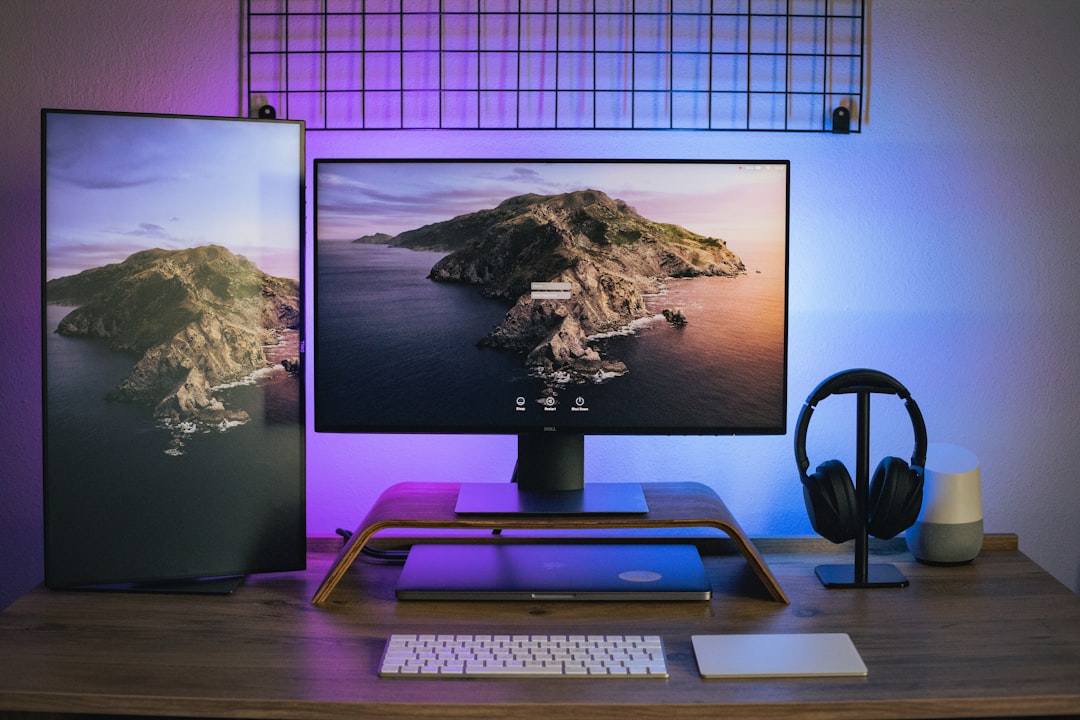
Get the Color Temperature Right
Light has color, measured in Kelvin. Mixing light of different colors, such as warm orange household bulbs with cool blue daylight from a window, produces an odd, uneven tint on your face that webcams struggle to correct. Aim for consistency:
- Warm white (around 2700–3000K): Cozy and orange, fine if all your lights match.
- Neutral white (around 4000K): A balanced, natural look that flatters most skin tones.
- Daylight (around 5000–6500K): Cool and bright, matches window light.
The key is consistency across all your light sources. Many LED video lights let you dial in the temperature, which makes matching your room easy. If daylight floods in from a window, set your supplementary lights to a similar daylight temperature.
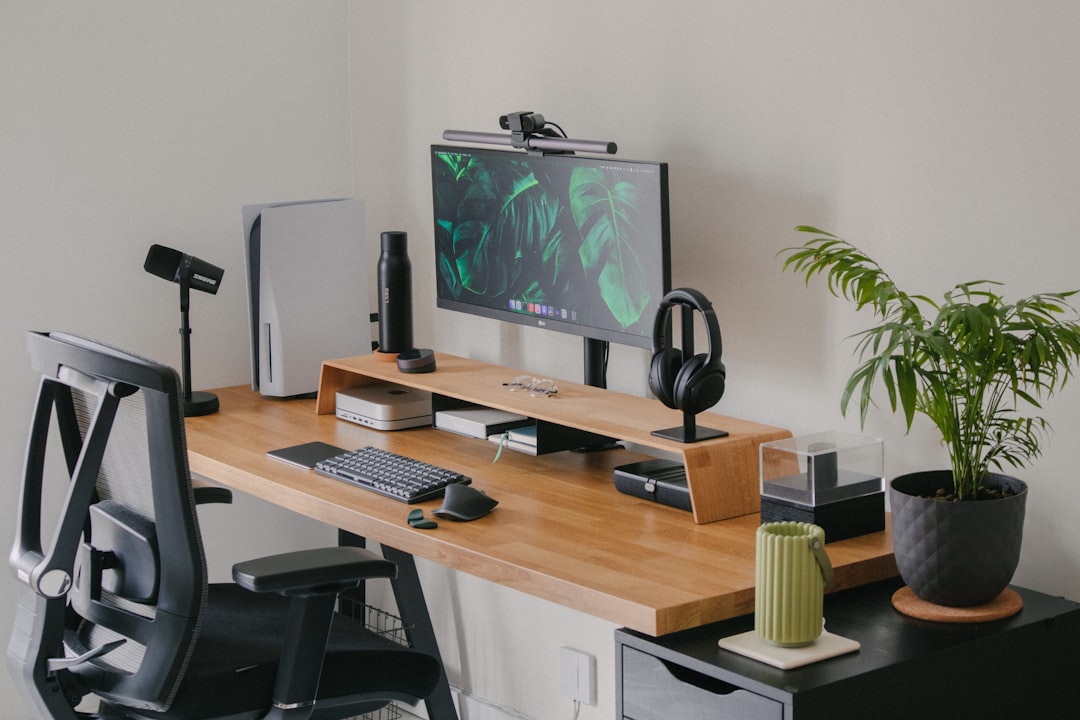
Avoid Overhead Lighting Alone
The ceiling light in most rooms is the worst possible source for video. Coming from directly above, it casts shadows under your eyes, nose, and chin, the classic raccoon-eye look that makes people appear tired. If overhead lighting is all you have, add a light or a bright screen in front of you to fill in those downward shadows. Even turning up your monitor brightness and displaying a bright window or document can act as a makeshift fill light in a pinch.
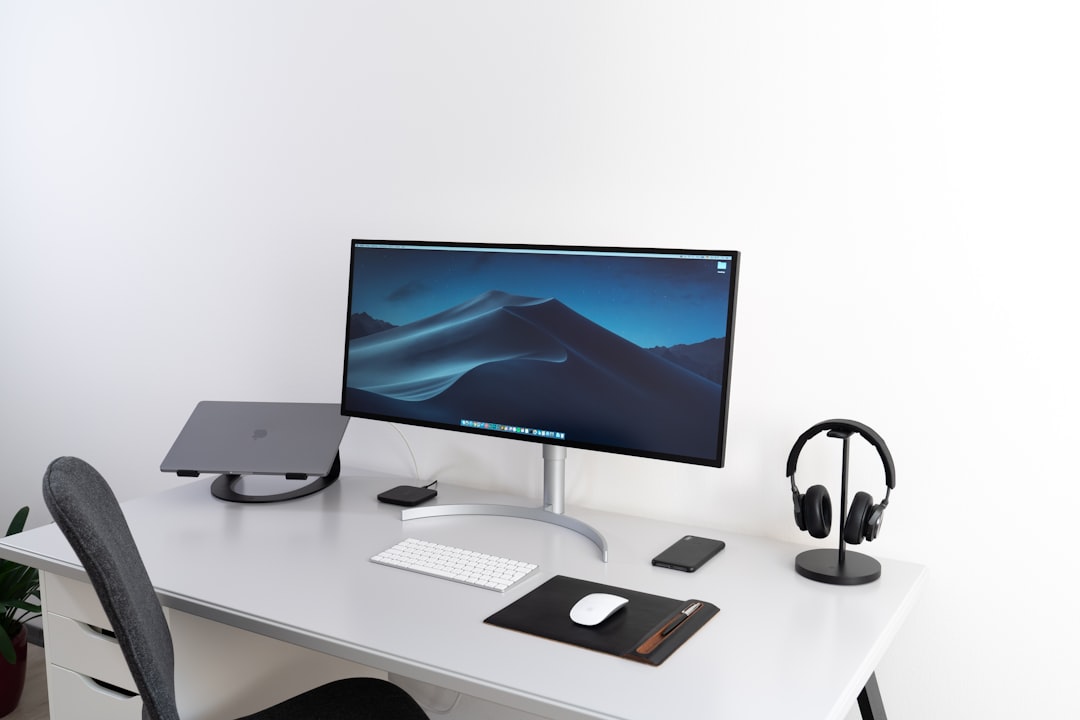
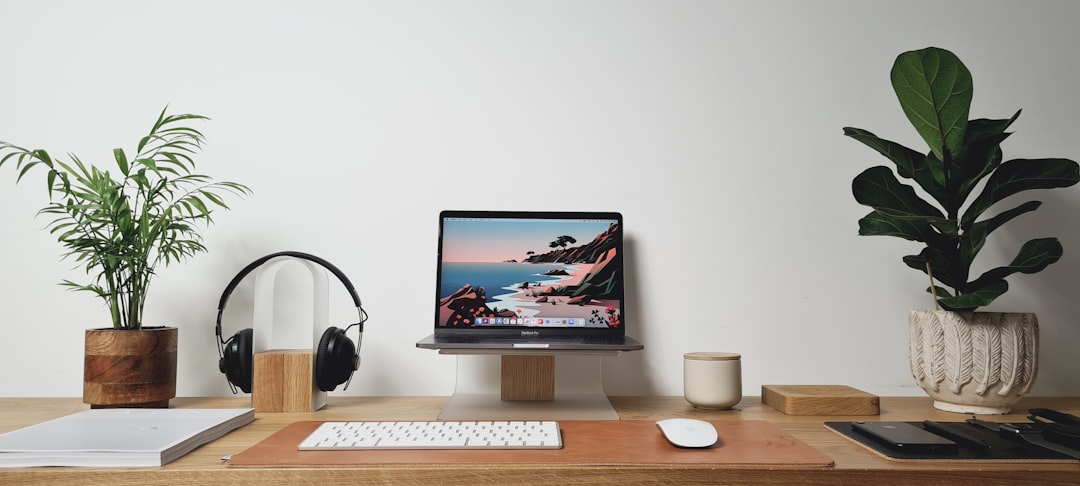
Position Your Setup for the Camera
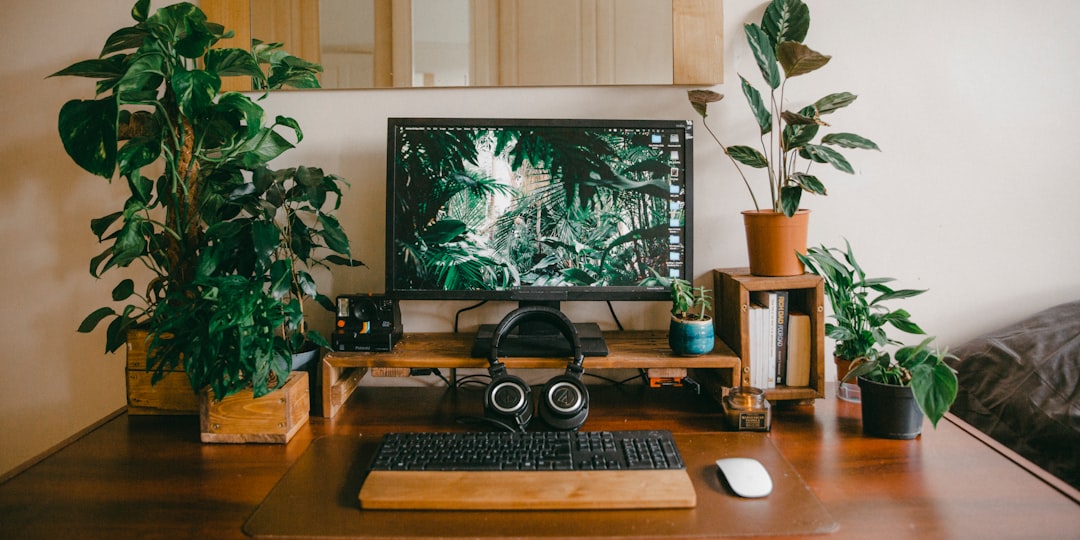
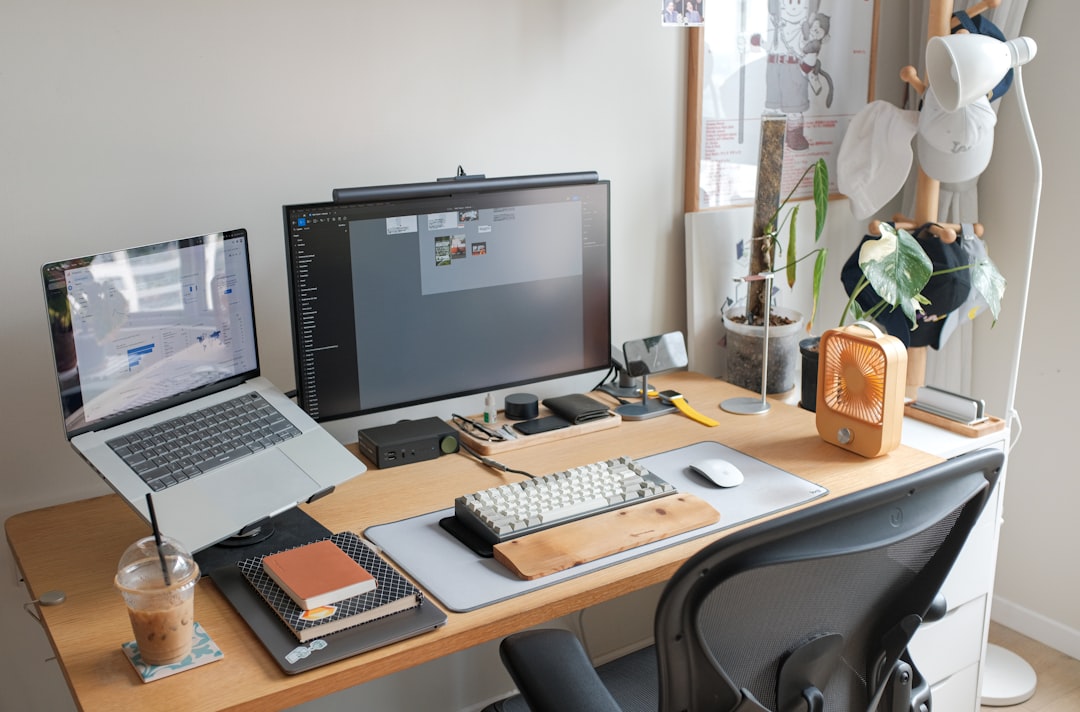
Lighting works together with camera placement. Your webcam should sit at or slightly above eye level so it looks straight at you, not up your nose from a low laptop. Raising a laptop on a laptop stand brings the built-in camera up to a flattering angle and, combined with front lighting, makes a noticeable difference. If you use an external webcam, mount it on top of your monitor at eye level and aim your key light to match. A tidy background also helps you stand out, so clear clutter from the area the camera captures and keep cables hidden in a cable management box so they do not distract on screen.
Simple Upgrades on Any Budget
You can improve your lighting at any price point:
- Free: Face a window, turn off the overhead light, and use a bright wall to bounce light.
- Low cost: A small clip-on LED light or a desk lamp with a daylight bulb pointed at a wall to diffuse it.
- Mid range: A ring light or a compact LED panel with adjustable brightness and color temperature.
- Higher end: Two LED panels with diffusion for a balanced key-and-fill setup.
Start at the free end and only spend more if you need consistency for frequent calls or recordings. Most people see the biggest jump in quality simply by moving their main light from behind them to in front.
Top-Rated Picks


| Product | Brand | Rating | Reviews | Price |
|---|---|---|---|---|
| NexiGo N60 1080P Webcam with Microphone, Software Con… | NexiGo | ★ 4.3 | 52.5k | $27.99 |
| Logitech C920x HD Pro PC Webcam, Full HD 1080p/30fps … | — | ★ 4.6 | 21.8k | $69.99 |
| EMEET 1080P Webcam with Microphone, C960 Web Camera, … | EMEET | ★ 4.4 | 32.8k | $33.14 |
| Logitech C922x HD Pro PC Webcam, Full HD 1080p/30fps … | — | ★ 4.6 | 17.1k | $99.99 |
| Logitech C930e 1080P HD Video Webcam – 90-Degree Exte… | — | ★ 4.6 | 5.2k | $73.99 |
Frequently Asked Questions
Where should my light be for video calls?
In front of you, facing your face, ideally slightly above eye level and angled down a little. Never have your main light or a bright window directly behind you, or you will appear as a dark silhouette.
Is a ring light worth it?
A ring light provides soft, even, front-facing light that flatters most faces, which makes it a solid, affordable upgrade. That said, a window in front of you or a diffused desk lamp can achieve similar results for free.
What color temperature is best for webcam lighting?
Consistency matters most. Neutral white around 4000K flatters most skin tones, but the key is to make sure all your light sources match so you do not get an uneven orange-and-blue tint.
Why do I look bad under my ceiling light?
Overhead light casts shadows under your eyes, nose, and chin, making you look tired. Add a light or a bright screen in front of you to fill those shadows, or replace overhead lighting as your main source entirely.
Does lighting matter more than the webcam itself?
Yes, in most cases. A good webcam in poor light looks worse than a modest webcam in good light. Sensors need light to produce a clean image, so fixing your lighting usually beats upgrading hardware.
Conclusion
Great webcam lighting comes down to a few principles: put your main light in front of you rather than behind, make it soft and diffused, keep your light colors consistent, and avoid relying on harsh overhead fixtures. Combine good lighting with a camera at eye level and a tidy background, and you will look sharp and professional on every call, often without spending a cent on new equipment. Fix the light first, and the picture takes care of itself.
Related Reviews & Guides


Keyboard Tray Benefits: Why You Might Need One

Wrist Pain From Typing: Causes and How to Fix It