Last Updated: October 18, 2026
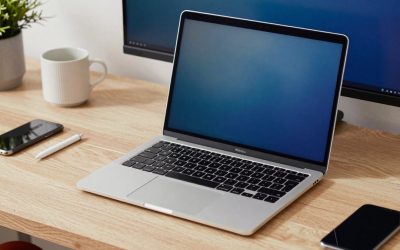
MacBooks have better built-in cameras than they used to, but they still fall apart in a dim home office. If you take calls all day on a Mac laptop, an external webcam is one of the cheapest upgrades that actually shows up on the other person’s screen.
The catch: not every Windows-first webcam behaves well on macOS. Some features like AI framing, background blur, or manual settings only work through Windows software. On a Mac you get plug-and-play video, but you may lose the extras. Buy for what works over UVC without an app, not what the box promises.
📄 In This Review
What matters most on a Mac laptop
For MacBook Air and MacBook Pro, prioritize three things: native UVC compatibility, good auto-exposure in low light, and a usable microphone pickup pattern. UVC means it works in FaceTime, Zoom, Teams, Google Meet and QuickTime without drivers. Almost all modern USB webcams do this, but the settings app is often Windows-only.
Resolution is less important than people think. A sharp 1080p sensor with fast autofocus and clean exposure will look better on Zoom than a cheap 4K sensor that hunts for focus and blows out your window. 4K only pays off if you present, record, or crop in. For daily standups, 1080p at 30fps is fine.
Also think about mounting. MacBook lids are thin and tapered. Heavy webcams with stiff clamp springs wobble or press on the screen. Look for a light body, a flat back that sits flush, and a tripod thread if you want to put it on a stand behind a docked MacBook. That is more practical than it sounds when you use your MacBook in clamshell mode with a monitor.
Quick comparison
See also: Best Monitor for MacBook Air: Two USB-C 4K Screens and Six Adapter-Dependent Alternatives • Best Monitor for MacBook Pro: Eight Listings Sorted by Cable, Sharpness and Scaling
Most Mac users fall into one of four setups. This is where the trade-offs show up quickly:
| Option | Best for | Strength on Mac | Weakness |
|---|---|---|---|
| Built-in FaceTime camera | Casual calls, travel | No setup, Center Stage on newer models | Soft in low light, fixed angle, looks down if laptop is low |
| Basic 1080p USB webcam | Daily work calls | Reliable plug-and-play, cheap to replace | Narrow dynamic range, mediocre mics |
| Premium 4K USB webcam | Presenting, teaching, recording | Sharper image, better low light, crop without mush | Costs 2-3x more, extra features often need Windows app |
| iPhone as webcam via Continuity Camera | Best image without buying a webcam | Excellent sensor, Desk View, auto framing | Needs a mount, drains battery, ties up your phone |
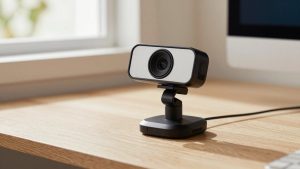
Best for daily work: a simple 1080p autofocus webcam
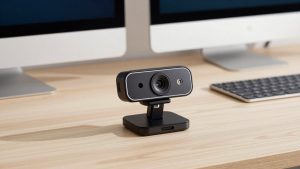
If you just want to look clear on Zoom and Teams, this is where to stop. A basic 1080p webcam for Mac with autofocus and dual mics is enough for 80 percent of home-office workers.
What to look for: autofocus, not fixed focus. Fixed-focus cams are fine if you sit perfectly still at one distance, but they make whiteboards, documents you hold up, and leaning in look blurry. Also look for a physical privacy shutter. Software privacy toggles are easy to forget.
Failure modes to know: cheap 1080p lenses flare badly with a window behind you, and auto white balance can go orange under warm home-office bulbs. The mics also pick up keyboard clatter if the webcam sits right above your MacBook keyboard. If you type while talking, use AirPods or a cheap USB headset instead of relying on the webcam mic.
Who this suits: individual contributors, managers with back-to-back calls, students. Be honest with yourself here: if your office has decent daylight and you are not recording content, the cheaper option is fine. Do not pay for 4K just for status meetings.
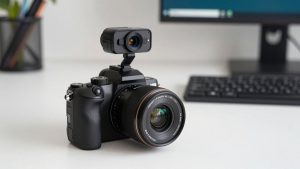
Best for presenting and recording: a good 4K webcam
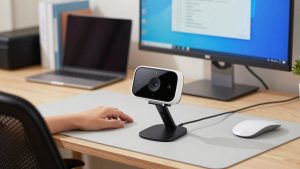
If you lead workshops, teach, sell, or record Loom-style videos, step up to a 4K webcam with autofocus and noise-cancelling mics. The advantage is not really that the other person sees 4K – Zoom usually compresses you to 720p or 1080p anyway. The advantage is a larger, better sensor with cleaner low light and room to crop.
A good 4K model lets you punch in slightly without turning to mush, which helps when you sit a bit far from a docked MacBook. It also handles mixed lighting better: face lit by a monitor, background lit by a window. Look for HDR or good backlight compensation, and check reviews specifically for Mac exposure behavior. Some models overexpose faces on macOS because you cannot access the Windows tuning app to tame it.
Trade-offs: they run warmer, cost more, and need more USB bandwidth. On older MacBook Air docks with a lot of peripherals, use a direct port if you get stutter. Also, features like auto-framing, background blur without Teams/Zoom effects, and gesture controls are often locked to the maker’s Windows app. Assume you will not get them on Mac.
Who this suits: founders pitching, trainers, creators who want one camera for calls and recording. If you only do internal calls in a bright room, skip it.
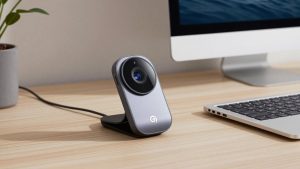
Before you buy: try your iPhone as the webcam
On macOS Ventura and later, Continuity Camera lets you use a recent iPhone as your MacBook webcam wirelessly or wired. Image quality beats almost every sub-150 dollar webcam, especially in low light. Desk View and Center Stage are genuinely useful for demos.
The downside is friction. You need a MagSafe iPhone mount for MacBook for Continuity Camera, your phone gets hot and drains during long calls, and notifications can interrupt you if you have not set Focus. Wireless mode can also lag slightly on crowded Wi-Fi. Wired over USB is more stable for all-day use.
Who this suits: travelers who do not want another gadget, or anyone who wants to test whether a better camera actually matters before spending. If you hate fiddling with a mount every morning, get a dedicated USB webcam instead.
What to avoid with Mac laptops
Avoid webcams that require a driver or login to output 1080p. On Mac that often means you are stuck at lower resolution. Avoid very wide-angle 120-degree cameras unless you need to fit a room – they make you look distant and bow the edges of your bookshelves. 75 to 90 degrees is the sweet spot for one person at a desk.
Also avoid mounting a heavy webcam on a MacBook Air lid and then opening and closing the lid by the camera. It stresses the hinge and knocks the framing off. If you dock your MacBook closed, put the webcam on your external monitor or a small tripod at eye level instead.
Finally, do not expect great audio from any webcam at two feet away in an echoey room. A forty-dollar headset will do more for how professional you sound than jumping from a 100-dollar to a 200-dollar camera.
FAQ
Do I need to install software to use a webcam on a MacBook?
Usually no. Most USB webcams use the UVC standard and work instantly in Zoom, Teams, Meet and FaceTime. Maker apps for firmware updates and image tuning are often Windows-only, so choose a camera that looks good with default settings.
Will a USB-A webcam work with a newer MacBook that only has USB-C?
Yes, with a simple USB-C to USB-A adapter or a dock. For 4K models, use a good quality adapter and preferably a direct port rather than a cheap hub if you see freezing or dropped frames.
Is 4K worth it if Zoom compresses video anyway?
For normal meetings, usually not. 4K helps most for recording, streaming, or cropping, and for difficult lighting. If your calls are mostly internal and your room is bright, a solid 1080p camera looks essentially the same to others.
Why do I look washed out or dark on my Mac?
It is almost always backlight. Do not sit with a bright window behind you. Face the window or put a cheap desk lamp behind your monitor aimed at your face. If your webcam has backlight compensation, leave it on.