Last Updated: September 29, 2026
- Step 1: Pick the quietest room, not the prettiest one
- Step 2: Treat reflections before you buy gear
- Step 3: Choose the microphone for your room
- Step 4: Interface, mixer or all-in-one
- Step 5: Set up the desk so you sit still and sound the same
- Step 6: Recording settings that keep episodes consistent
- FAQ
- Bottom line
A home podcast studio is mostly about controlling sound, not buying the most expensive microphone. Listeners will forgive a slightly flat voice. They click away from echo, a humming fridge, or a guest who sounds like they are in a stairwell. This guide covers setting up a small room, or one corner of your home office, so every episode sounds consistent: picking the room, taming reflections, choosing a mic and interface that fit how you record, and arranging the desk so you can talk for an hour without slouching or bumping the boom arm.
📄 In This Review
- Step 1: Pick the quietest room, not the prettiest one
- Step 2: Treat reflections before you buy gear
- Step 3: Choose the microphone for your room
- Step 4: Interface, mixer or all-in-one
- Step 5: Set up the desk so you sit still and sound the same
- Step 6: Recording settings that keep episodes consistent
- FAQ
- Bottom line
Quick answer: Our top pick in 2026 is the USB/XLR hybrid dynamic — our #1 rated choice. See the full ranked comparison, alternatives and buying advice below.
Step 1: Pick the quietest room, not the prettiest one
Before spending anything, stand in each candidate room at the time you usually record and just listen. HVAC vents, street traffic, a washing machine behind the wall and the neighbor’s dog all come through a sensitive microphone. A spare bedroom with carpet, a bed and a full closet is usually better than a bare office with hard walls and a big window. Soft furnishings are free acoustic treatment.
Clap test for echo
Clap once, sharply, in the middle of the room. If you hear a metallic ring or flutter after the clap, sound is bouncing between parallel hard surfaces. That ring ends up on your recording as a hollow, “bathroom” tone. A room that swallows the clap with almost no tail is a good starting point.
Where to sit
Avoid sitting in a corner or with your face close to a bare wall; low frequencies build up in corners and make voices boomy. Aim for a spot roughly one-third into the room, facing a soft surface such as a bookshelf, curtain or closet with clothes.
Step 2: Treat reflections before you buy gear
See also: Best Roku Streaming Deals Reviewed • Olipop Flavors Ranked: Best Tastes from Worst to Best
Acoustic treatment is about absorbing the first reflections that reach the mic within a few milliseconds of your voice. You do not need to cover every wall. Focus on the wall you face, the wall behind you, and the ceiling directly above the desk if it is low.
- Heavy moving blankets hung on a curtain rod behind the mic are cheap and effective for speech.
- Mineral wool or fiberglass panels (typically 2 to 4 inches thick, fabric-wrapped) absorb much more than thin foam and work down into the low-mids where voices live.
- Thin egg-crate foam mostly cuts high frequencies; it helps a little, but a 1-inch foam square will not fix a boomy room.
- A rug under the desk stops reflections from a hard floor.
Step 3: Choose the microphone for your room
For untreated or lightly treated home rooms, a dynamic microphone is usually the right call. Dynamics pick up the voice a few inches away and reject much of the room. Condenser mics are more detailed but also hear the air conditioner, the keyboard and the reflections you just tried to kill.
| Mic type | Examples | Typical price range | Best for |
|---|---|---|---|
| USB/XLR hybrid dynamic | Samson Q2U, Audio-Technica ATR2100x-USB | $70–$130 | Solo shows, first studio, easy upgrade path later |
| USB dynamic with onboard processing | Rode PodMic USB, Shure MV7+ | $200–$280 | One cable setups that still sound broadcast-like |
| XLR broadcast dynamic | Rode PodMic, Shure SM7B, Electro-Voice RE20 | $100–$450 | Multi-host shows through an interface or mixer |
| Large-diaphragm condenser | Audio-Technica AT2020, Rode NT1 | $100–$270 | Well-treated rooms, voiceover work |
Note that low-output dynamics like the SM7B need a lot of clean gain, often around 60 dB. Budget interfaces can hiss at that level, which is why many people add an inline booster. Check your interface’s gain spec before pairing the two.
Step 4: Interface, mixer or all-in-one
Solo host
A single USB mic straight into the computer is fine. If you use an XLR mic, a two-input interface in the $120–$200 range is plenty.
Two to four people in the same room
Here a podcast-specific console (the Rodecaster family, Zoom PodTrak units and similar) earns its price: separate inputs, headphone outputs for each person, and the ability to record each voice on its own track so you can fix one person’s level later.
Remote guests
Use a recording platform that captures each participant locally and uploads the file, rather than recording the compressed call audio. Ask guests to wear wired earbuds so your voice does not bleed into their mic.
Step 5: Set up the desk so you sit still and sound the same
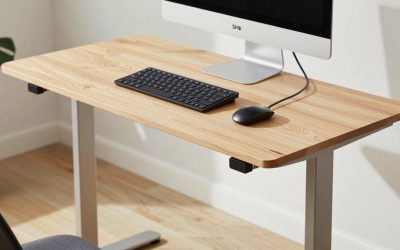
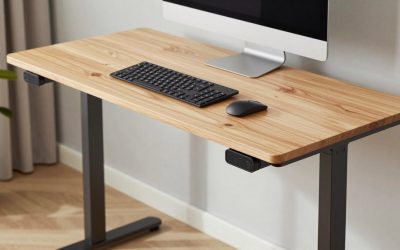
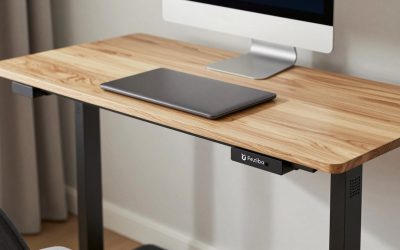
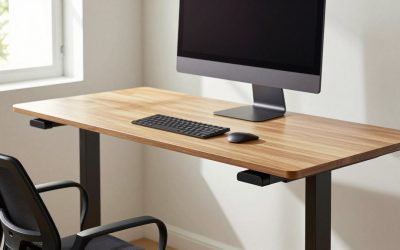
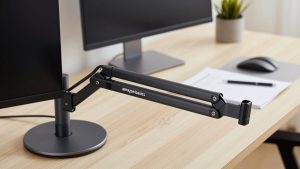
Mic technique matters more than mic price. Keep the capsule 2 to 4 inches from your mouth, slightly off-axis to reduce plosives. A boom arm clamped to the desk lets you hold that distance without leaning in, and keeps the mic off the desk surface, so keyboard taps and table bumps do not thump through. Add a shock mount if your mic does not have internal isolation.
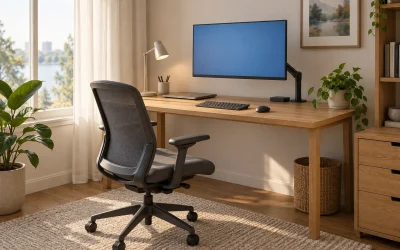
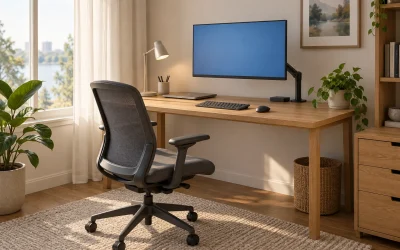
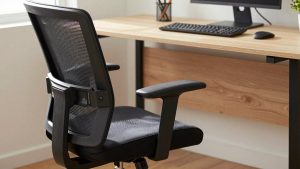
- Chair: a quiet chair matters. Squeaky tilt mechanisms and creaky mesh show up on recordings, so tighten or lubricate before a session.
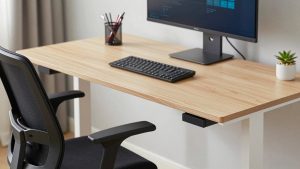
- Screen: put show notes on a monitor at eye level so you are not looking down, which changes your tone and distance to the mic.
- Headphones: closed-back models prevent the guest’s voice leaking back into your mic.
- Cables: route USB and XLR away from power bricks to avoid hum.
Step 6: Recording settings that keep episodes consistent
Record at 48 kHz, 24-bit. Set gain so normal speech peaks around -12 dBFS, leaving headroom for laughs. Record a 10-second sample of silence at the start for noise reduction. Save a template in your recording software so each episode starts with identical settings. Finally, loudness-normalize the finished file; most podcast platforms target roughly -16 LUFS for stereo.
FAQ
Do I need a soundproof room to start a podcast at home?
No. Soundproofing (stopping sound from entering or leaving) takes mass and construction work. What most home podcasters need is treatment: soft surfaces that stop echo. A dynamic mic, a rug, and a blanket behind the mic solve most problems.
USB or XLR for a home podcast studio?
USB is simpler and fine for solo shows. XLR makes sense once you have two or more people in the room or want to swap mics later. Hybrid mics with both outputs let you start on USB and move to XLR without replacing the mic.
Bottom line
Build the home podcast studio in the right order: quiet room, basic treatment, a dynamic mic on a boom arm, then an interface or console that fits the number of voices. Spend on sound control before gear, and save your settings as a template so episode 40 sounds like episode 4.
Ready to decide? Our #1 pick for 2026 is the USB/XLR hybrid dynamic.
Live price & availability on Amazon.
Related Reviews & Guides
How to Adjust Lumbar Support on an Office Chair
Office Chair Seat Depth Guide