Last Updated: September 29, 2026
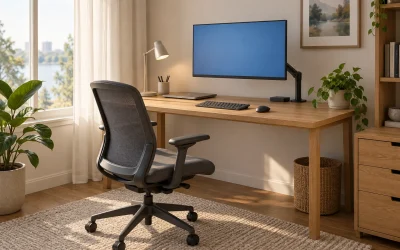
The promise of a one-cable desk is simple: sit down, plug a single USB-C cable into your laptop, and your monitors, keyboard, webcam, speakers, network and charger all come alive together. Getting there takes about half an hour of careful setup, most of which is planning where things go and choosing the right cable. This guide walks through the full process, from checking compatibility to hiding the cables, so the dock disappears into your desk.
📄 In This Review
Quick answer: Our top pick in 2026 is the Docking station — our #1 rated choice. See the full ranked comparison, alternatives and buying advice below.
What you need before you start
| Item | What to check | Typical cost |
|---|---|---|
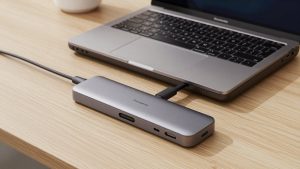
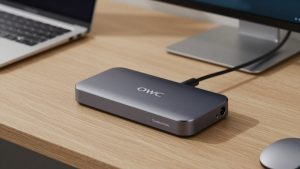
| Docking station | Thunderbolt 4, USB4 or USB-C with Alt Mode/DisplayLink to match your laptop | $120-$400 |
| Host cable | Certified Thunderbolt 4 / USB4 or the cable in the box; 0.8-2m | Included, or $25-$60 |
| Monitor cables | DisplayPort or HDMI versions matching monitor resolution and refresh | $10-$20 each |
| Cable management | Tray, sleeves, Velcro ties | $15-$40 |
| Surge protector | Enough outlets for dock, monitors, lamp | $20-$40 |
Step 1: Confirm the laptop can do one-cable
See also: Best Roku Streaming Deals Reviewed • Olipop Flavors Ranked: Best Tastes from Worst to Best
A true one-cable setup needs a USB-C port that carries data, video and charging together. Look for a Thunderbolt bolt icon or a DisplayPort logo plus a charging symbol. Check that the dock’s host charging wattage (commonly 85-100W) meets your laptop’s original charger rating. If your laptop needs more, one-cable will still work, but the battery may drain during heavy workloads.
Step 2: Plan the desk layout
Where the dock goes
Decide whether the dock sits on the desk near the laptop or under the desk in a cable tray. On-desk placement keeps front-facing USB and card reader ports accessible. Under-desk placement looks cleaner but requires a longer host cable; certified 2m Thunderbolt 4 cables work, while cheap long cables often fail.
Where the laptop goes
If the laptop sits open as a third screen, place it on a stand at about the same height as the monitors. If it stays closed, a vertical laptop stand saves space and improves airflow.
Step 3: Connect in the right order
- Plug the dock’s power brick into the surge protector, then into the dock.
- Connect monitors to the dock’s display outputs. Use DisplayPort for high-refresh monitors.
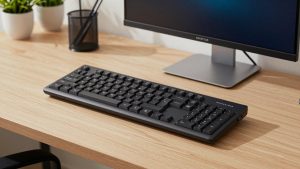
- Connect Ethernet, then USB devices: keyboard and mouse receiver on USB 2.0 or 5Gbps ports, webcam on a 5Gbps port, external SSD on the fastest port.
- Connect the host cable to the laptop last.
- Install any required software: DisplayLink driver for DisplayLink docks, and firmware updaters from the dock maker.
Step 4: Configure displays and audio
On Windows, open Settings, System, Display, choose “Extend these displays,” drag the monitor icons to match their physical positions, and set the main display. On macOS, open System Settings, Displays, and arrange them. Set each monitor to its native resolution and highest supported refresh rate. Then choose your default speakers and microphone; laptops often switch audio to the dock’s output when docked, which you may not want if you use a USB headset.
Step 5: Make it survive sleep and lid-close
- Windows: in Power settings, set “When I close the lid” to “Do nothing” while plugged in if you use the laptop closed.
- Enable “Wake on dock” or USB wake in BIOS if your keyboard should wake the laptop.
- macOS: closed-lid mode needs power, an external display, and a keyboard/mouse connected.
- Update dock firmware; many sleep and wake bugs are fixed there.
Step 6: Tidy the cables
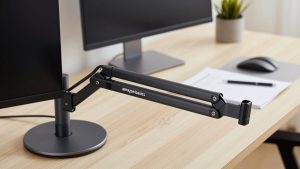
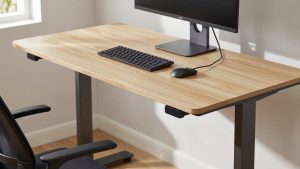
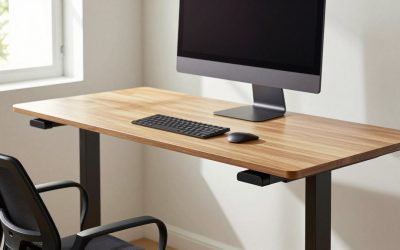
Run monitor and power cables along the monitor arm or stand, down into an under-desk tray, and bundle them with Velcro. Leave enough slack for a standing desk’s full travel, typically 20-25 inches between lowest and highest positions. Label both ends of each cable; it saves time when troubleshooting later.
FAQ
Can I use the USB-C cable from my phone charger as the host cable?
Usually not. Many charging cables support only USB 2.0 data, so video and fast data will not work. Use the dock’s supplied cable or a certified Thunderbolt 4 / USB4 40Gbps cable rated for 100W.
Why does everything reconnect slowly after I plug in?
Monitors, network and audio devices each re-enumerate, which can take 3-10 seconds. Longer delays often point to DisplayLink driver start-up or outdated dock firmware; updating both usually shortens it.
Bottom line
A one-cable desk comes down to a compatible port, a dock with enough charging, a quality host cable and a thoughtful connection order. Spend ten extra minutes on sleep settings and cable routing, and you get a setup that works every morning without thought.
Ready to decide? Our #1 pick for 2026 is the Docking station.
Live price & availability on Amazon.